Indoor Sensory Play That Won't Wreck Your Carpet

The trick to indoor sensory play that doesn’t end in a 30-minute mop session is to contain it before you start: one bin, one mat or old sheet under it, and materials that wipe or sweep instead of stain. I’m Nora Hayes, a former preschool aide and mom to an autistic sensory-seeker, and I’ve run hundreds of these setups on my own kitchen floor, so I know which ones actually calm a wound-up kid and which ones cost you an hour of cleanup.
This guide walks you through low-mess bin ideas, taste-safe basics, shaving cream sensory play step by step, and the storage tricks that make tomorrow’s setup take five minutes, because sensory play builds real nerve connections in a child’s brain pathways, per Michigan State University Extension, and it shouldn’t cost you your sanity to give them.
Why Sensory Play Is Worth the Setup
Sensory play earns its keep because it does two jobs at once: it settles a wound-up kid. That’s the trade. A little setup now, a calmer house later.
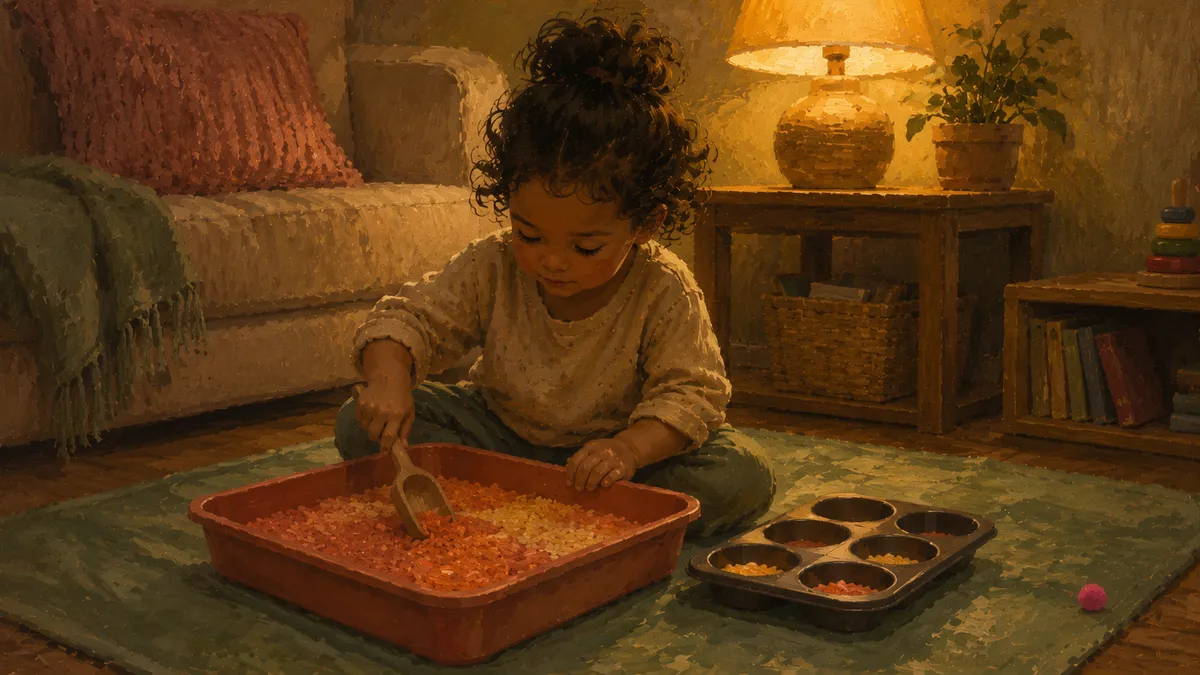
The magic is in the hands. When a toddler digs, pours, and pinches their way through a bin of rice or beans, they’re building fine motor skills without a worksheet in sight. Small fingers learn to scoop and grip. That same tactile input, the feel of cool rice slipping through a fist, gives a busy nervous system something to focus on, which is where the regulation happens. It’s the same reason heavy work calms my seven-year-old before a hard transition.
June, my three-year-old, will sit at a bin of dyed rice for a solid twenty minutes most afternoons, longer than she’ll do almost anything else.
None of this requires a fix-everything claim. Sensory bins won’t cure a rough day. They give a child’s brain development a steady, hands-on workout and hand you a breather, and that’s plenty. If you’re just starting out, my roundup of sensory bins for toddlers is the easiest place to begin.
What Makes a Setup Truly Low-Mess
Low-mess isn’t luck, it’s two choices you make before the bin ever comes out: where the mess lands, and what you put in the bin. Get those two right and cleanup shrinks to a shake and a wipe.
Containment First: Mats, Trays, and Drop Cloths
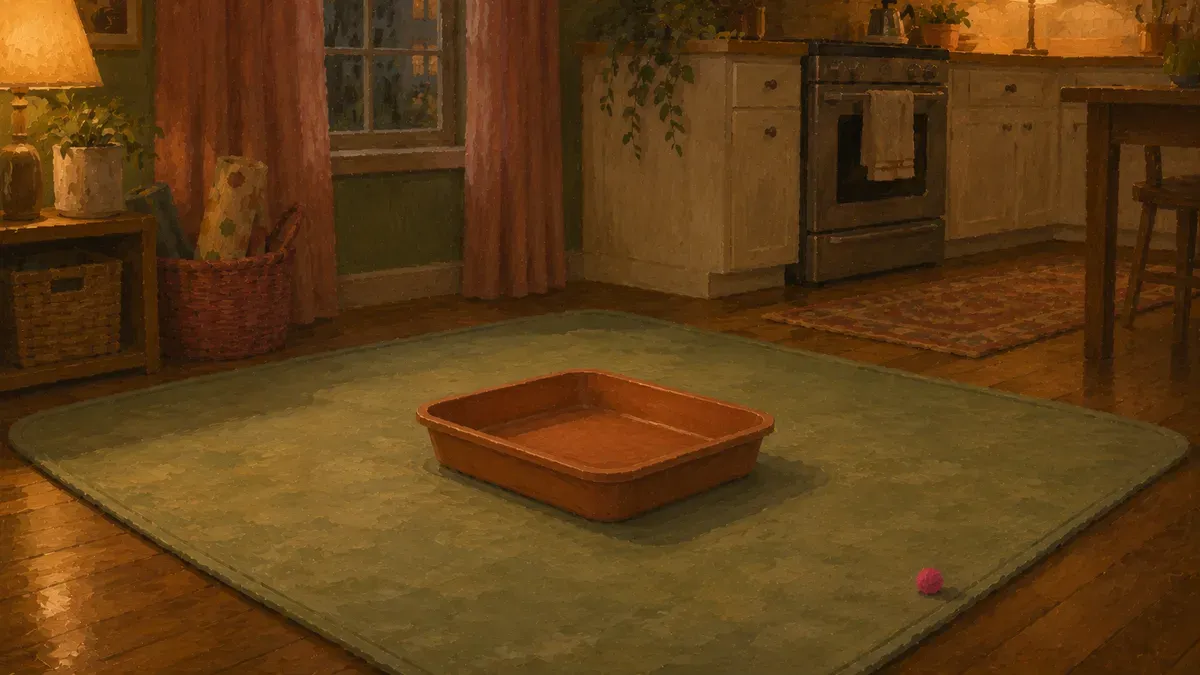
The spill is going to happen. Decide in advance where it lands. A washable sensory play mat or an under-bin tray catches the rice and the water before either touches carpet, and that turns the whole cleanup into one move: pick up the corners, shake it into the bin, done.
Size matters more than people expect. A mat that only covers the bin itself misses the splash zone, and the splash zone is wider than your kid. I use an old vinyl tablecloth under June’s bin, and the spill radius regularly hits a foot past the edge. Common splat mats run roughly the size of a high-chair drop zone, and you want that much coverage so the exploration stays on the mat, not on your floor.
Pick Fillers That Don’t Stain or Scatter
Containment buys you slack. The filler decides how much you actually need.
Dry, chunky fillers stay where they land. Dyed pasta, large beans, wooden beads, pom-poms, and chickpeas all sit on carpet loops and pick up in seconds. Compare that to fine sand or dyed water, which wick into the weave and stain. My rules, learned the hard way:
- Chunky beats fine. Bigger pieces don’t scatter or hide in carpet.
- Dry beats wet. No dye to set, nothing to soak in.
- Shallow beats deep. A thin layer in a DIY bin kills the urge to scoop and dump.
That shallow part is the quiet trick. Two inches of filler invites tactile digging; a deep tub invites flinging, and if scooping-and-tossing is your kid’s whole game, my notes on how to stop dumping during sensory play go deeper. Low mess starts with giving them less to throw.
18 Low-Mess Sensory Bin Setups for Small Spaces
Give them less to throw and you can run a sensory bin in a galley kitchen or a one-bedroom apartment. Here are 18 setups across three families, sorted by how little they wreck your floor.
Dry-Filler Bins That Sweep Up Fast
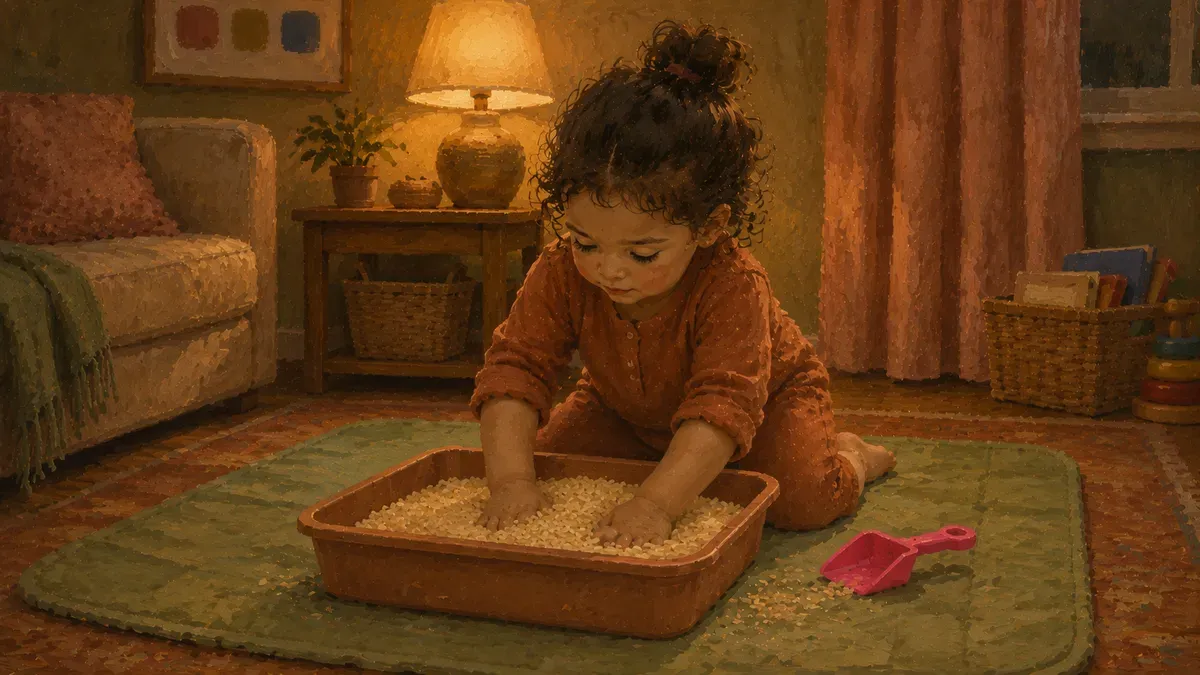
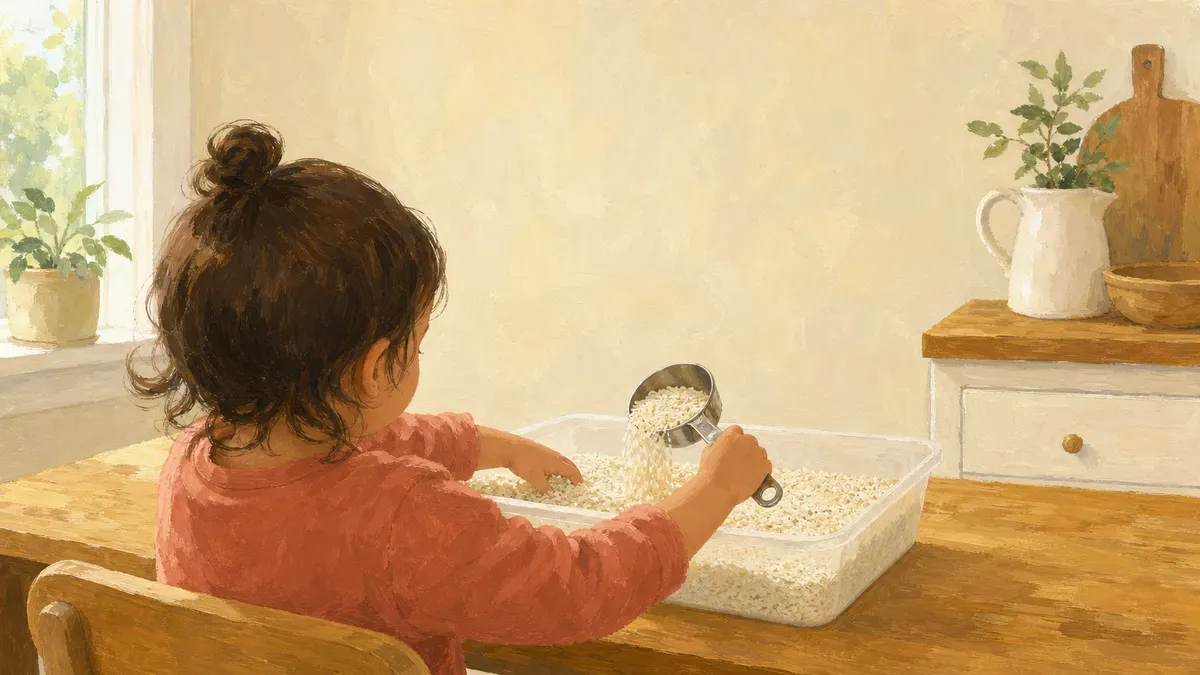
Most of what you need is already in the pantry. Raw oatmeal in particular vacuums up off carpet without a fight, so it’s my pick for the living room.
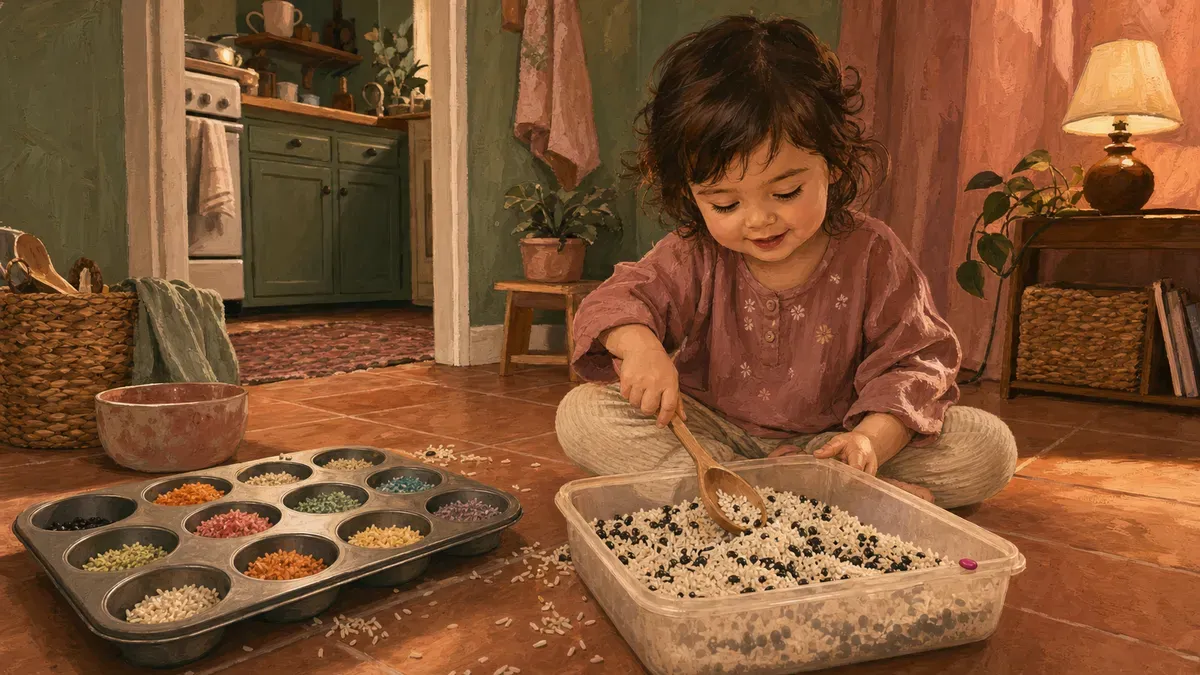
- Rice + measuring cups + small spoons
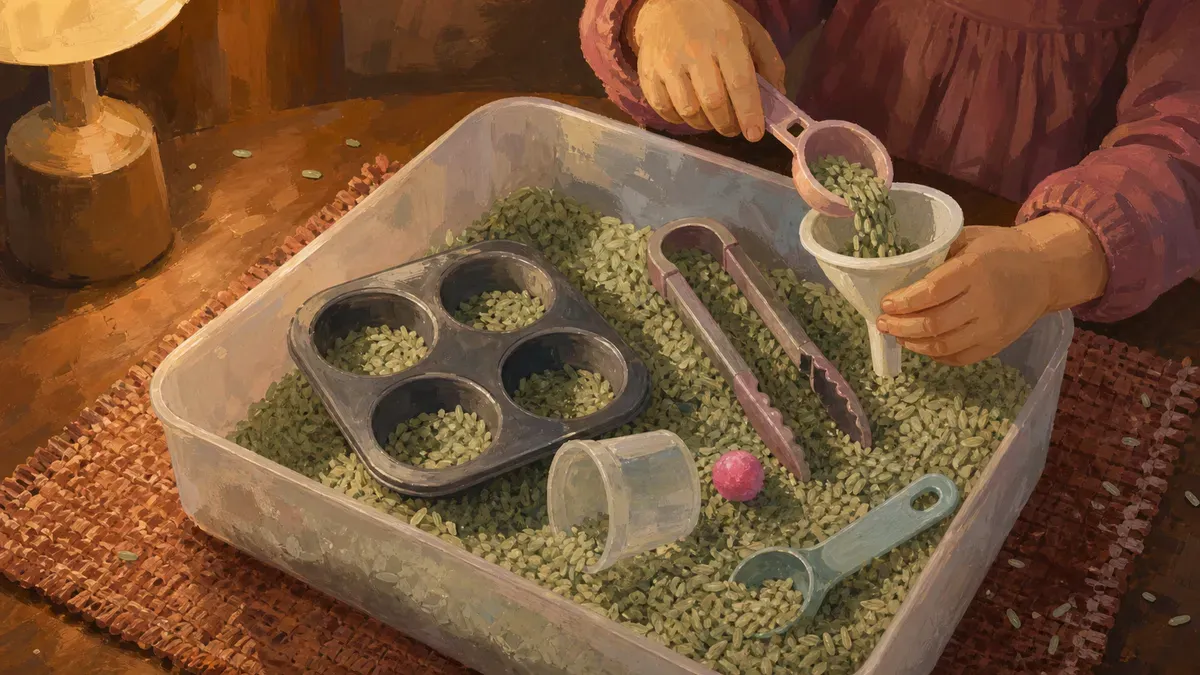
- Dry pasta tubes + tongs + a muffin tin
- Oatmeal + funnel + small containers
- Pompoms + tweezers + sorting cups
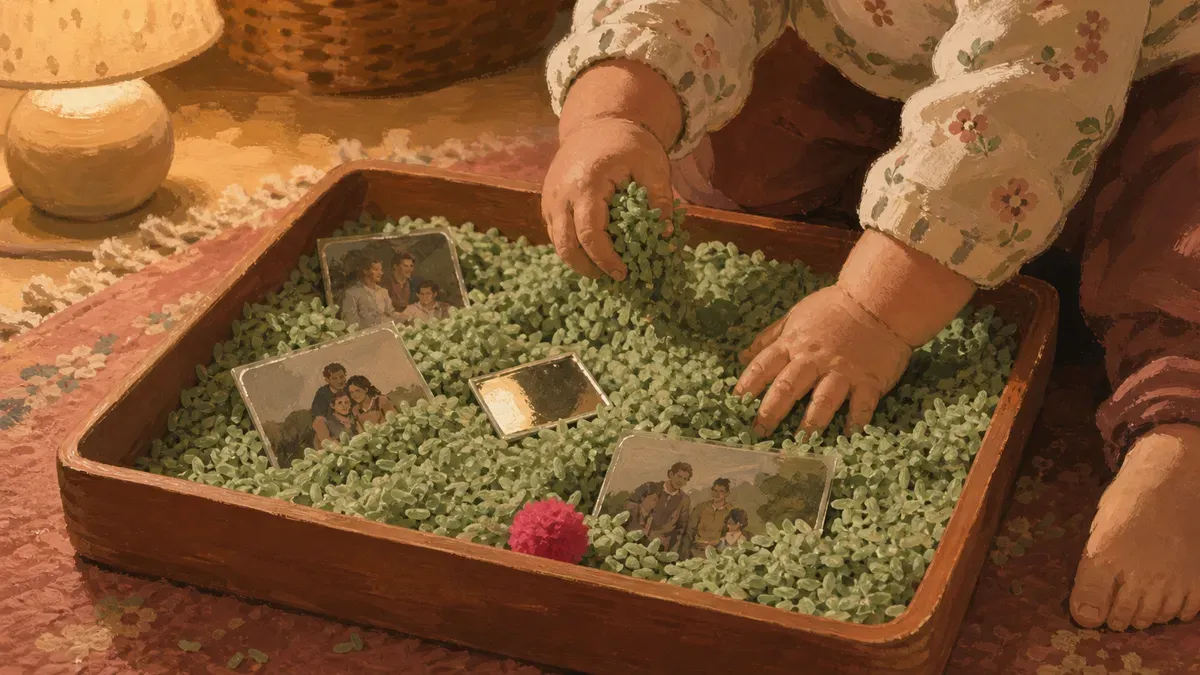
- Cornmeal + toy animals buried inside
- Dried beans + scoops + small pots
- Flaxseed + funnels (sweeps up fast)
- Mixed filler (rice + pompoms) + a colander
June worked the oatmeal bin through a whole rainy Tuesday, and cleanup was one pass with the hand vac. My list of sensory bin fillers you already have covers even more.
Sealed and Contained Sensory Play
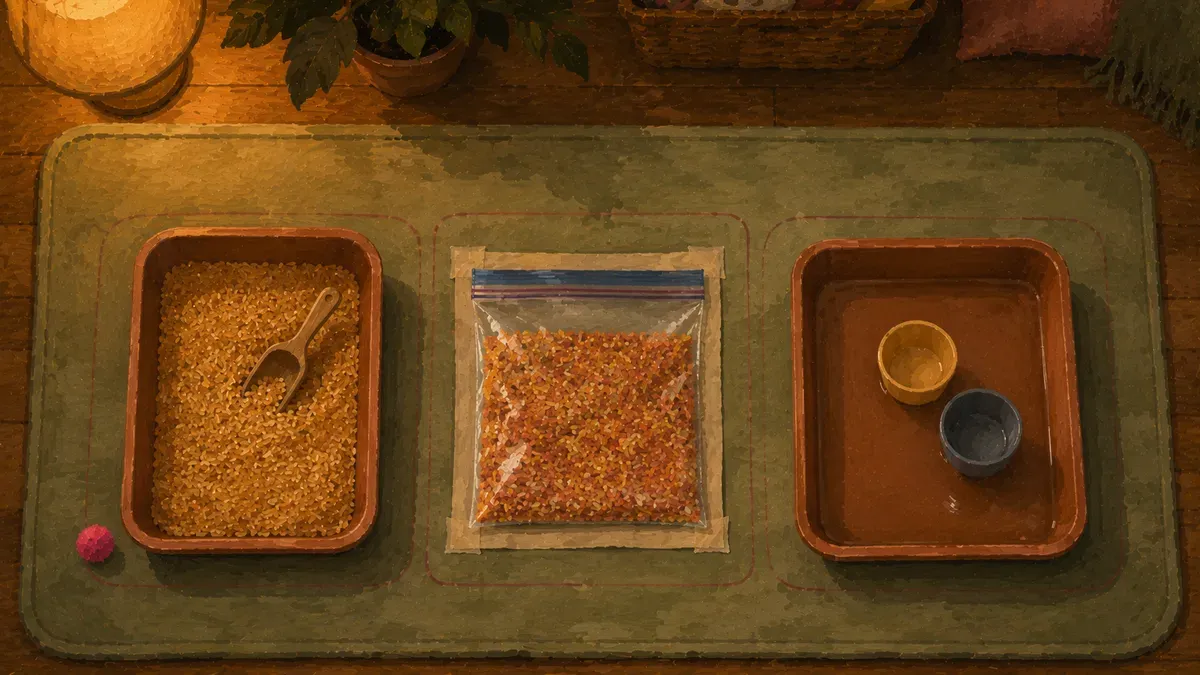
Sensory bottles and zip-bag setups deliver the full sensory hit with nothing to spill, which makes them my go-to for travel and tight apartments.
- Sensory bottle with rice and bells (shake, listen, repeat)
- Zip-bag taped to the high-chair tray with rice inside (poke, press, squish)
- Gel bag with glitter and foam letters (visual tracking)
- Oil-and-water discovery bottle (watch the layers separate)
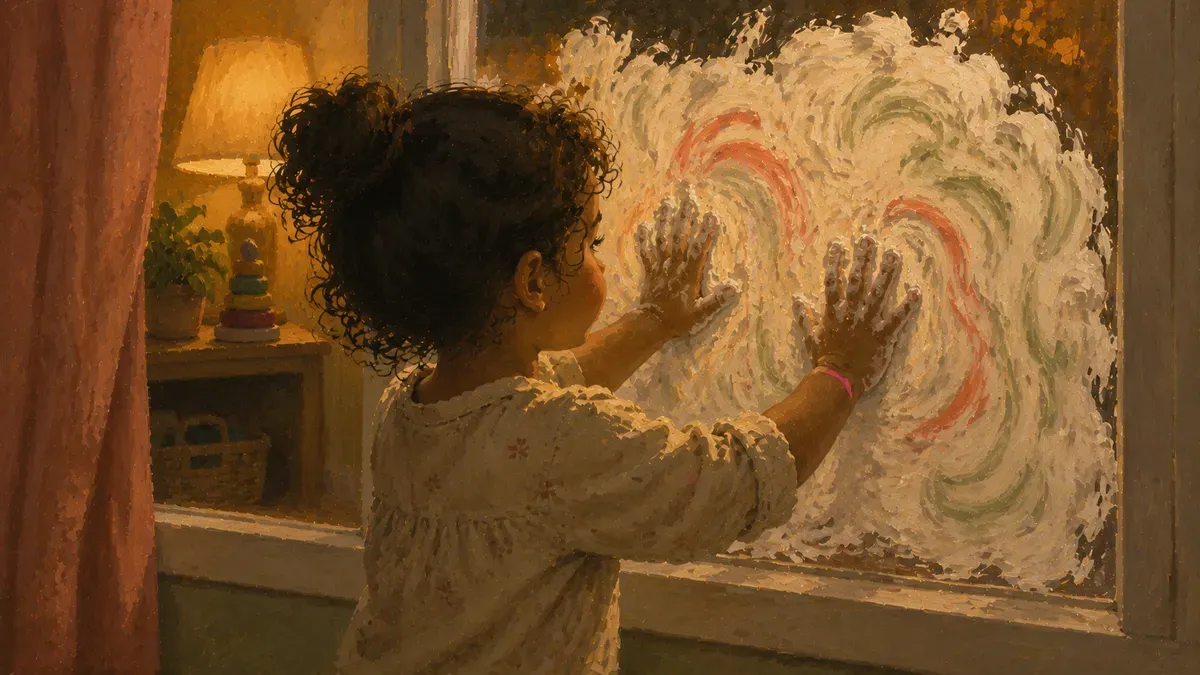
- Paint bag taped to a window (push paint from outside, zero stained hands)
The Child Care Providers Resource Network notes these setups give kids sensory input without the mess, mouthing risk, or cleanup of an open bin.
Water Play Without the Flood
Water play indoors sounds reckless until you go shallow. Two inches of water on a folded towel, parked at the sink, is enough.
- Shallow bin + cups and a whisk
- Tub setup with floating toys (drain when done)
- Water + food coloring + a turkey baster (color mixing holds attention)
- Water beads in a deep bin (here’s how I set up a water sensory bin with them)
- Water + sponges and squeeze bottles (squeezing is heavy work)
The slow pour-and-stir settles a wound-up kid fast, and towels plus a sink drain keep cleanup simple.
Shaving Cream Sensory Play, Step by Step
Shaving cream looks like the messiest thing you could hand a toddler. Spread it on the right surface and it’s actually one of the easiest setups to wipe away.
- Choose your surface: tray, window, or mirror.
- Squirt the foam and add a few drops of food coloring.
- Step back and let them swirl.
- Wipe clean with a damp cloth when they’re finished.
Where to Spread It So It Wipes Clean
Pick a hard, sealed surface and the whole activity lives in one wipeable zone. I squirt a fistful of foam straight onto June’s high-chair tray, or onto a baking tray, a window, or the bathroom mirror at kid height. Shaving foam doesn’t soak in like it would on a rug, so one damp cloth lifts it when she’s done.
A window or mirror adds a bonus: she can see her own handprints in the foam, which holds her longer than the tray does.
Color, Texture, and Easy Cleanup
A few drops of food coloring turn plain white foam into something she’ll actually stay at. I dot two or three colors across the tray and let June smear them into swirls. The texture does the work, the color keeps the exploration going.
If the dye stains little hands, more shaving cream rubbed over the stain is the fastest way to lift it, a tip worth following alongside basic guidance on supervising young children during messy play.
One note: shaving cream is not for the under-2 mouthing crowd. For them, start with taste safe sensory play instead, then graduate to foam when they’ve outgrown the everything-goes-in-the-mouth stage.
Cleanup and Storage for Tired Parents
The part nobody pins is the cleanup, and it’s the part that decides whether you ever do this again. Here’s how I keep both ends short: a fast reset after, and a grab-and-go setup for next time.
The Two-Minute Reset
The vinyl tablecloth is already down, so the reset is three steps.
That’s the trick: clean up before you uncage the toddler. Containment isn’t only for during play, it’s what turns the after-part into a sub-two-minute thing instead of a floor-crawl.
Lift the cloth, vac the strays, lid the bin, done.
- Lift the tablecloth corners and funnel loose filler back into the bin
- Vac whatever skipped off the edge
- Snap the lid on before you let the toddler loose
- File each filler in its own labeled, lidded bin on one shelf
- Swap any bin that gets wet or grimy
Store It Sealed and Ready to Rotate
Every filler gets its own lidded bin, labeled, lined up on one shelf. Rice in one, pasta in one, pompoms in one. Sealed airtight keeps the dry stuff safe from moisture and dust, so a batch of rice or pasta stays reusable for weeks, even months, instead of one sad use and out.
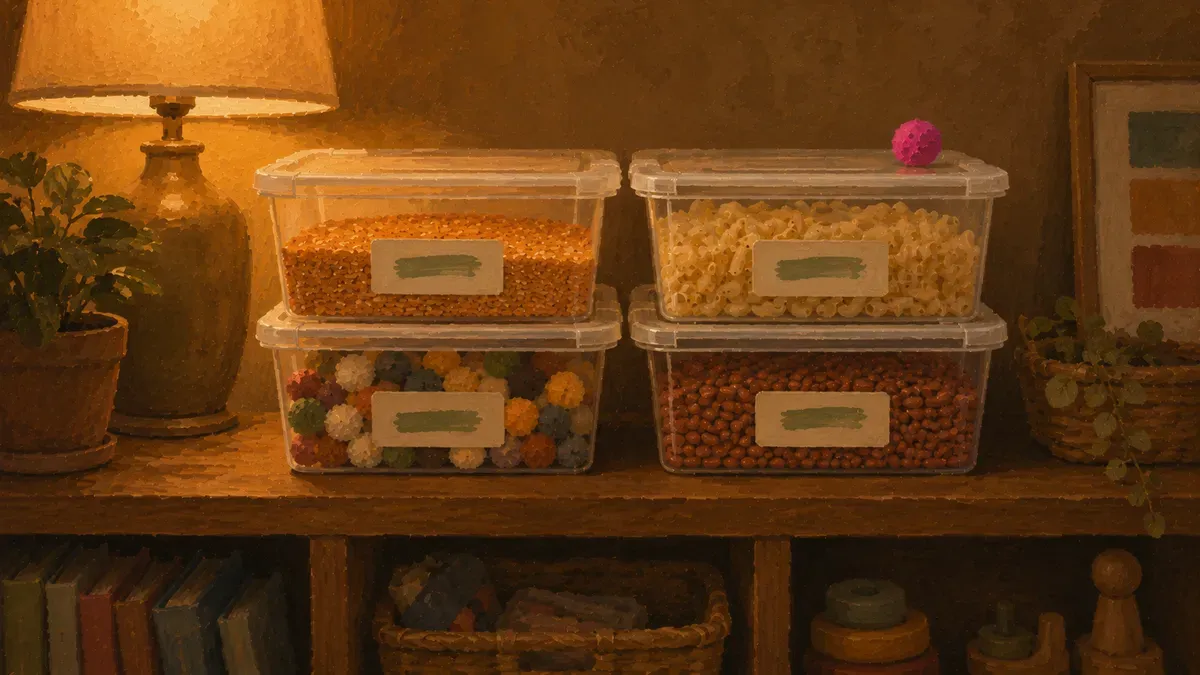
Swap a bin out when it gets wet or grimy. The payoff is the next session: you grab one, dump, and the exploration starts in seconds. For more grab-and-go ideas, see our complete guide to mess-free toddler play.
Found this useful? Save it for the next rough afternoon.
Questions parents ask me about this
How do you do indoor sensory play without a big mess?
Start with containment: a shallow bin on a mat or old tablecloth that extends well past the bin's edges. Stick to dry fillers like rice, oats, or pompoms, which sweep up easily and don't stain carpet. A shallow layer of filler cuts the urge to dump the whole bin at once. Most sessions clean up in under two minutes when the setup is right.
What age can babies and toddlers start sensory play?
You can start simple sensory exploration from around four to six months, but the activity style changes a lot by age. Under two, keep everything taste-safe because mouthing is guaranteed. From two on, you can introduce a wider range of materials with supervision. There is no single right age; follow what your child is curious about and what keeps them safe.
Is shaving cream safe for toddlers if they put it in their mouth?
Shaving cream is not taste-safe, so it is not a good fit for kids who are still mouthing everything. For toddlers who no longer mouth during play and are supervised, short sessions are generally fine with a rinse when done. If your child is under two or still puts things in their mouth, start taste-safe first and come back to shaving cream later.
What can I use instead of a sensory bin filler I have at home?
Rice, dry pasta, rolled oats, and dried beans all work and most families have at least one on hand. Pompoms are a good non-food option that vacuums up easily. The filler matters less than you think: the scooping, pouring, and hiding are what drive the exploration, not the specific material you use.
How do I stop my toddler from dumping the bin everywhere?
A shallow layer of filler is the biggest lever here. When the bin is half-full there is more to dump; a thin layer gives less payoff for the effort. A wide, low bin is also harder to tip than a tall narrow one. Sitting on the floor with the bin on a mat keeps the spill radius contained, and for the kid who really wants to pour, add a funnel or muffin tin to redirect that urge somewhere useful.
Can you do sensory play in an apartment or on carpet?
Yes. A vinyl tablecloth or plastic drop cloth under the bin protects carpet completely and rolls up in seconds. Dry fillers like rice and oats are the safest bet on carpet since they vacuum off without staining. Water play works at the sink or in the tub with just a couple inches of water and a towel on the floor. Tight space is not a dealbreaker.
How long should a sensory play session last?
As long as the child is engaged. Some kids are done in five minutes; others settle in for thirty. There is no target time to hit, and a two-minute session still counts. If your child walks away quickly, try adjusting the filler, the tools, or the time of day rather than pushing them to stay longer.
Written by
Nora Hayes
Mom of two and a former preschool aide. I share the screen-free sensory play and calm-down ideas I test at my own kitchen table, plus what the moms in my little meet-up swear by. A parent passing on what works, not a doctor or a therapist.
More about NoraKeep going
All Sensory Bins-
 Sensory Bins
Easy Sensory Activities You Can Set Up in 10 Minutes
Toddler melting down and you've got 10 minutes? Easy sensory activities using pantry staples. Pick one, set it up, buy yourself some peace.
-
 Sensory Bins
Sensory Play Toys: 15 Tools That Build Fine Motor
Skip the $40 toys. These 15 sensory play toys build pincer grasp and hand strength, and most cost a dollar. See which an OT reaches for.
-
 Sensory Bins
Sensory Bin Fillers: 20 Pantry Items You Own Now
Skip the craft store: 20 sensory bin fillers already in your pantry tonight, sorted by texture, mess level, and age. Start one in minutes.
-
 Sensory Bins
All About Me Sensory Bin + 29 More Toddler Themes
Out of ideas? The all about me sensory bin starts 30 themed setups toddlers actually play with. One a week, never wing it again.