Taste Safe Sensory Play: 15 Mouthy-Toddler Fillers

Taste safe sensory play just means the stuff in the bin won’t hurt your kid if it ends up in their mouth, which, with a toddler, it will. I’m Nora Hayes, a former preschool aide who’s run hundreds of these setups with my own two, and the rule I live by is simple: if they can’t eat it, it doesn’t go in the bin.
Below you’ll find 15 edible fillers from your pantry, quick five-minute recipes, what fits each age, and how to keep the mess and cleanup from wrecking your evening.
What Taste Safe Sensory Play Really Means
The terms get thrown around like they’re the same thing. They’re not, and the difference matters before you fill a single bin.
Taste Safe Versus Truly Edible
Taste safe means non-toxic if mouthed. A toddler can gnaw on it, get it in their eyes, smear it everywhere, and you won’t be calling poison control. But it was not designed to be eaten as food. Rice flour dyed with food coloring is taste safe. A bin of plain cooked pasta is edible sensory play: ingredients fine to actually swallow, nothing added that belongs on a warning label.
Most sensory bins for toddlers marketed as taste safe still contain food coloring, salt, or cornstarch in amounts you wouldn’t ladle onto a plate. Fine for mouthing, not a snack.
- Under two: start with fully edible setups (cooked oats, cream cheese on a tray, mashed banana are all fair game).
- Around age three: accidental swallowing drops sharply, so the taste-safe category opens up considerably.
- Dyed fillers (cloud dough, colored rice): hold off until you’re confident a bite is curiosity, not a sure thing.
Why Mouthing Is Normal Toddler Development
Putting things in their mouth is not misbehavior. It is how young children gather sensory information. A peer-reviewed study of 72 children aged 11 to 60 months found that children 24 months and younger averaged 81 mouthing events per hour. One per minute, basically, with no significant difference between boys and girls.
The good news: it eases up. A 2026 Frontiers in Public Health study tracked mouthing duration and found it drops from 18.67 minutes per hour in the youngest group down to 5.02 minutes per hour by ages three to six.
Taste safe fillers make room for that developmental stage instead of fighting it. A toddler can dig in, explore texture, and yes, taste the filler, while you stay relaxed. For more on when to begin infant sensory play and what to look for at each stage, that breakdown starts there.
The Best Taste Safe Fillers Straight From Your Pantry
You do not need a craft-store run for any of this. Open your cabinet and you are looking at three kinds of taste safe fillers: the dry stuff you scoop and pour, a squishy gel you soak overnight, and the cold, soft fillers that save a sweaty afternoon.
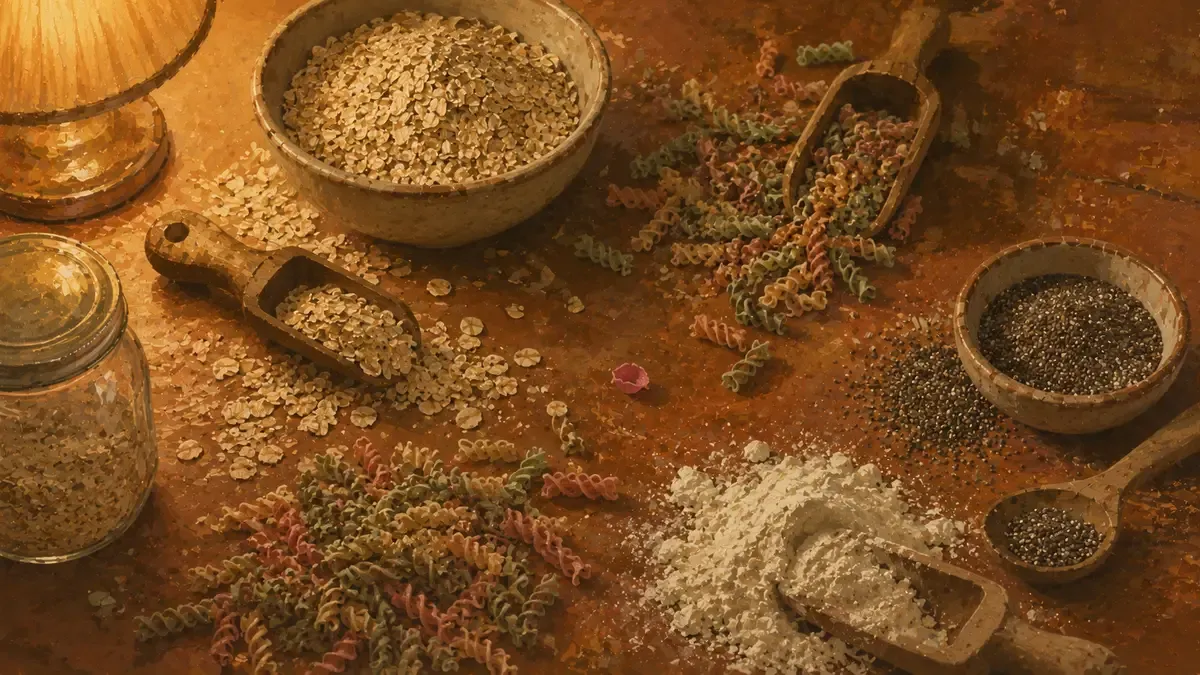
Dry Pantry Staples to Scoop and Pour
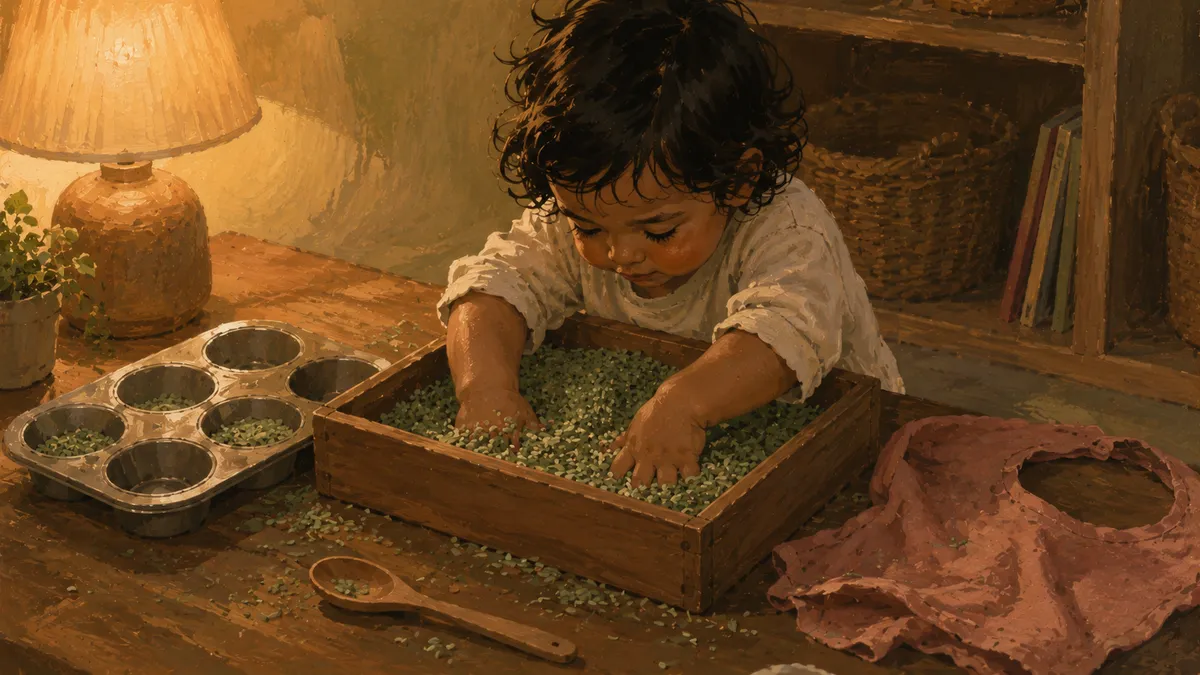
The fastest win is dry, because there is no recipe at all. Dump it in a bin, hand over a cup, and you have an edible sensory bin going in under a minute.
My go-to sensory bin fillers from the pantry:
- Oats, raw and dry, the softest landing for a first bin
- Cooked and cooled pasta, dyed into rainbow pasta with a few drops of food coloring
- Air-popped popcorn, light and loud and great for handfuls
- Crushed cereal, the dusty bottom-of-the-box kind nobody wants to eat
- Shredded coconut, fluffy and a little sweet, made for scooping
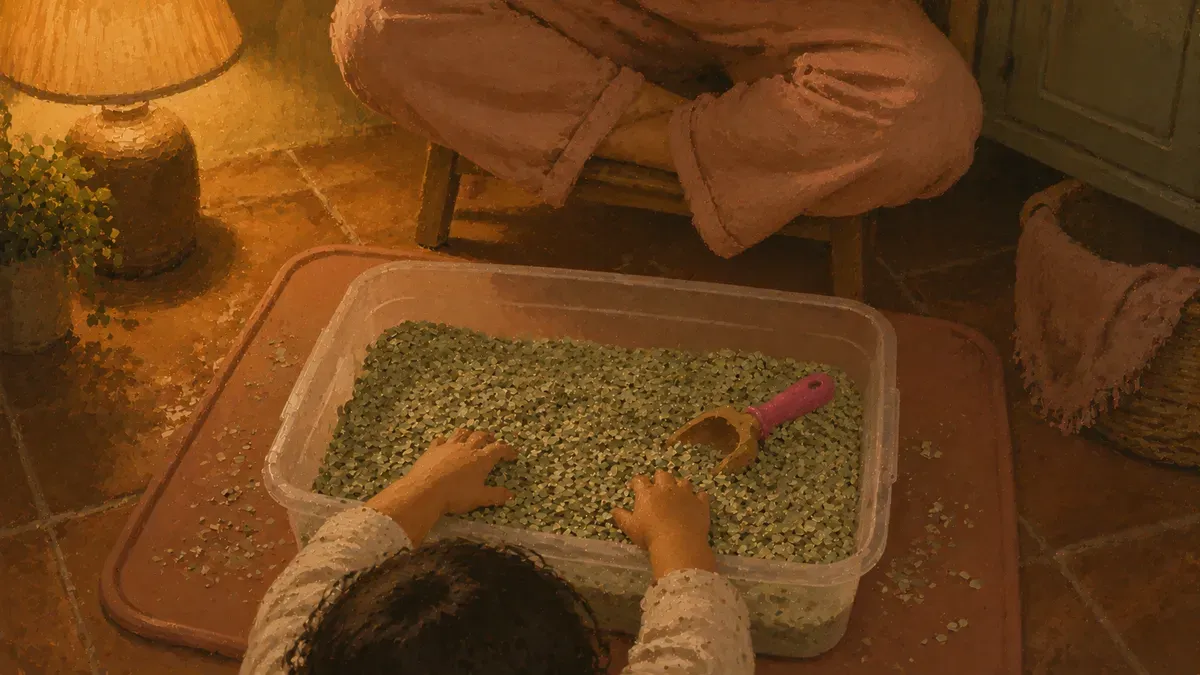
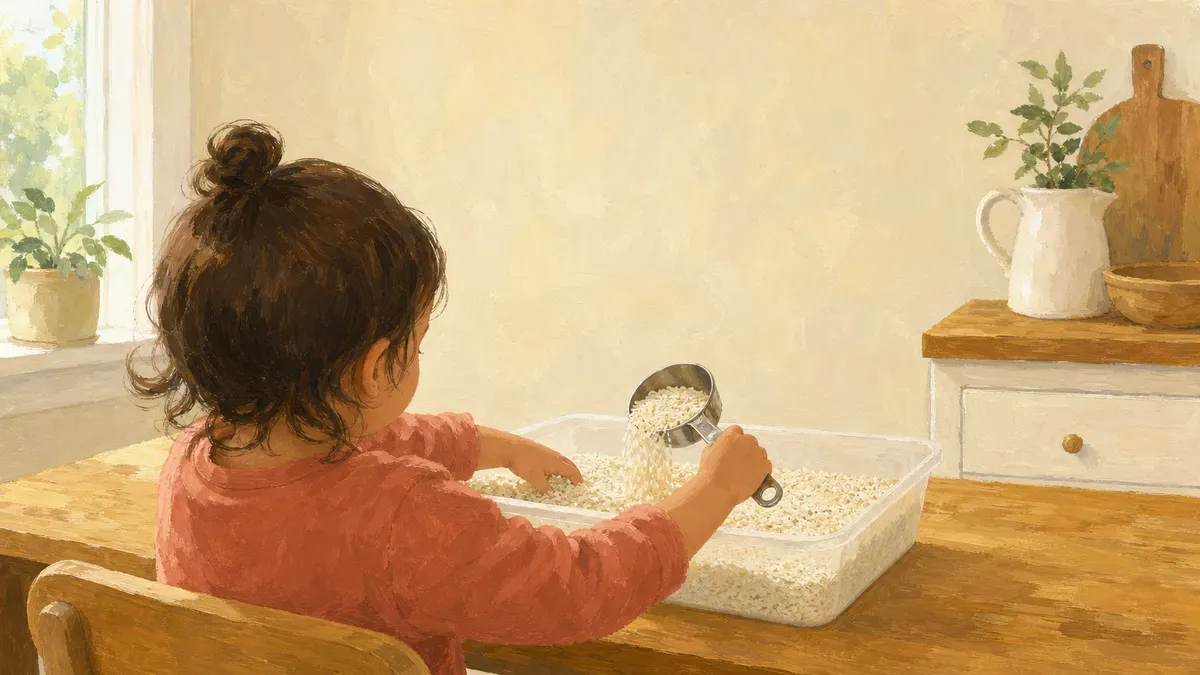
All of it is safe if it ends up in the mouth, which under two it will. June spent a whole rainy morning moving oats between a muffin tin and a funnel, tasting maybe every third scoop. If you want a longer list, here are more sensory bin fillers you already have sitting in your kitchen right now.
Chia Seed Gel for Squishy Exploration
Dry is great, but eventually a kid wants something they can squish. Chia gel is the pantry answer, and it lands as one of the most loved textures in taste safe play.
Soak the seeds and they swell into a slippery, gloopy gel that runs through little fingers like the world’s safest slime. My go-to ratio is a quarter cup of chia seeds to two cups of water, left to soak four to six hours or overnight. Stir in a drop of food coloring once it gels if you want color.
One hard rule for chia seed sensory play: never let a toddler near the dry seeds before they soak. Dry chia is a choking risk, so soak it fully, every time, before it goes anywhere near the bin.
Frozen and Soft Fillers for Hot Days
When it is too hot to think, the freezer becomes your sensory bin. Cold adds a whole new texture without a single new ingredient.
A few that always land here:
- Frozen yogurt blobs, spooned onto a tray and frozen into cold little mounds
- Pudding, smeared straight on the high-chair tray for finger painting you can lick
- Jello, set firm then broken into wobbly cubes to dig through
- Ice rescue cubes, small toys frozen into ice that your kid melts and frees
The yogurt and pudding bring squish, the jello brings wobble, and the ice rescue brings a little patience-building drama. On a 90-degree afternoon when nobody wanted to be outside, frozen yogurt blobs on a cookie sheet bought me a quiet twenty minutes at the table. Hot day, cold bin, no extra shopping.
Easy Recipes That Mix Up in Five Minutes
No shopping trip, no chemistry degree, no hour at the stove. Three taste-safe recipes here, each from pantry stuff, each mixed before the kettle boils.
Two-Ingredient Taste Safe Oobleck
A cup of cornstarch and half a cup of water gets you oobleck, the goop that acts solid when you punch it and runs like liquid when you let it rest.
- Combine two parts cornstarch with one part water.
- Work it together until smooth.
- For color, stir food coloring into the water before adding the cornstarch. Gel coloring works best since it adds no extra liquid to the ratio.

That trick has a name. It’s a shear-thickening fluid, and the science behind oobleck’s non-Newtonian behavior is what turns sensory play into an actual STEM moment. Punch it and it’s a wall. Drag a finger slow and it pools. My two will stab at it for ten minutes straight, just to feel it flip.
Non-toxic, mouth-safe, and it rinses off skin with plain water.
Flour-and-Oil Moon Sand
Moon sand is the one that holds a shape. Pack it in a cup, tip it out, and you get a little castle that crumbles when poked, a lot like kinetic sand but made from your baking shelf.
Use eight parts flour to one part oil. Two cups of flour, a quarter cup of vegetable, canola, or coconut oil, worked together with your hands until it clumps. One catch: heat-treat the raw flour first. Spread it on a tray, bake at 350°F for five minutes, and let it cool before anyone touches it. That step clears the pathogen risk raw flour carries, which matters for a bin a toddler will sample.
For a scent upgrade, swap half a cup of the flour for cocoa powder. It smells like brownie batter and turns the sand a soft brown.
Chickpea Aquafaba Foam and Edible Play Dough
Don’t pour off your chickpea water. That cloudy liquid, aquafaba, whips into a fluffy foam that looks like a science-fair cloud.
Drain two cans of chickpeas, add a quarter teaspoon of cream of tartar, and beat on high until soft peaks form, about four minutes. The cream of tartar is optional, but it firms up the peaks and keeps the foam from deflating so fast. Scoop it, squish it, watch it hold its shape.
Want something they can squeeze and mold? Soft play dough comes from the same shelf: flour, a little cream of tartar, a glug of oil, and warm water, kneaded until smooth.
- Stays pliable for squeezing and molding
- Safe if a small chunk ends up in a toddler’s mouth
- Keeps in a sealed bag for a few days
Three recipes, three textures, all from food you already have. Make one tonight, see which one your kid won’t put down, and you’ll know what to mix next time.
Matching Fillers to Your Toddler’s Age and Stage
Knowing what to put in the bin matters a lot less than knowing what’s right for your kid right now. The two subsections below split by age, because an eight-month-old and an eighteen-month-old are doing completely different things with their hands.
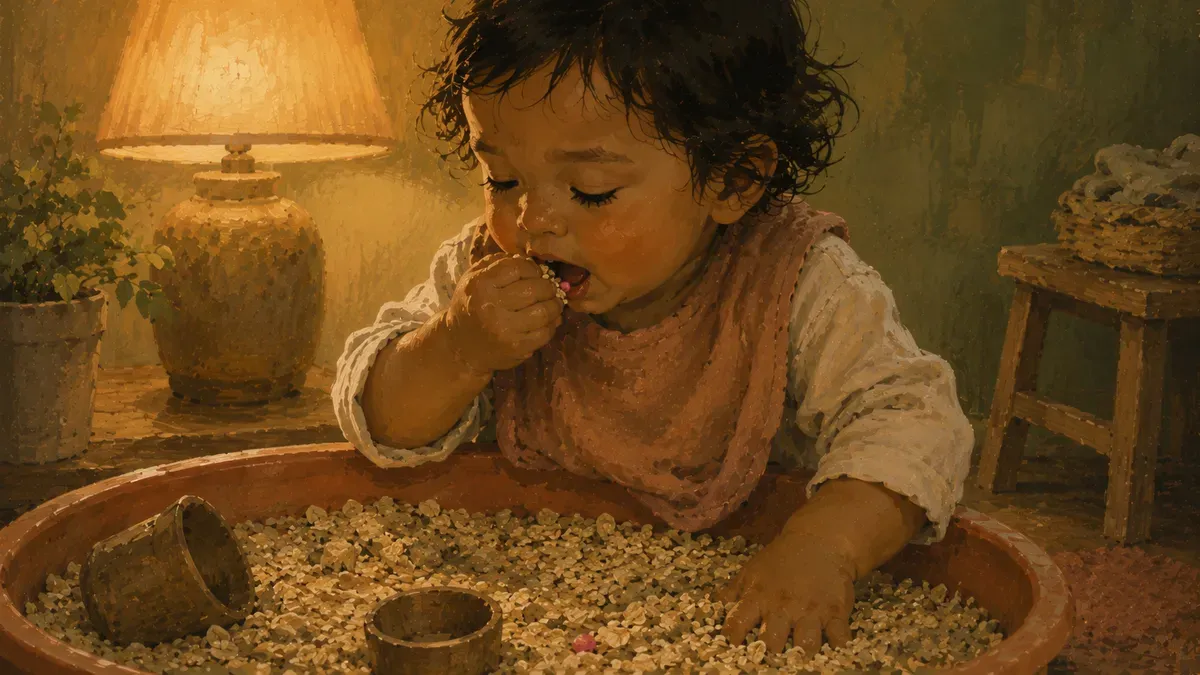
Six to Twelve Months: First Tastes and Textures
At this age, the mouth is the primary research tool. Everything goes straight in, so the only real rule is that every ingredient in the bin is something they could actually eat.
Start with single-ingredient fillers. Plain yogurt spread across a tray works beautifully, and the CDC recognizes it as an appropriate early soft texture for infants before twelve months. The cool, smooth feel tends to stop a baby completely, hands just pressing in and lifting off. Mashed banana is another easy option. Cooled oats are soft enough to squish and completely safe to swallow.
Keep the setup small. A few tablespoons of filler on a shallow tray is plenty. The goal is contact, not volume.
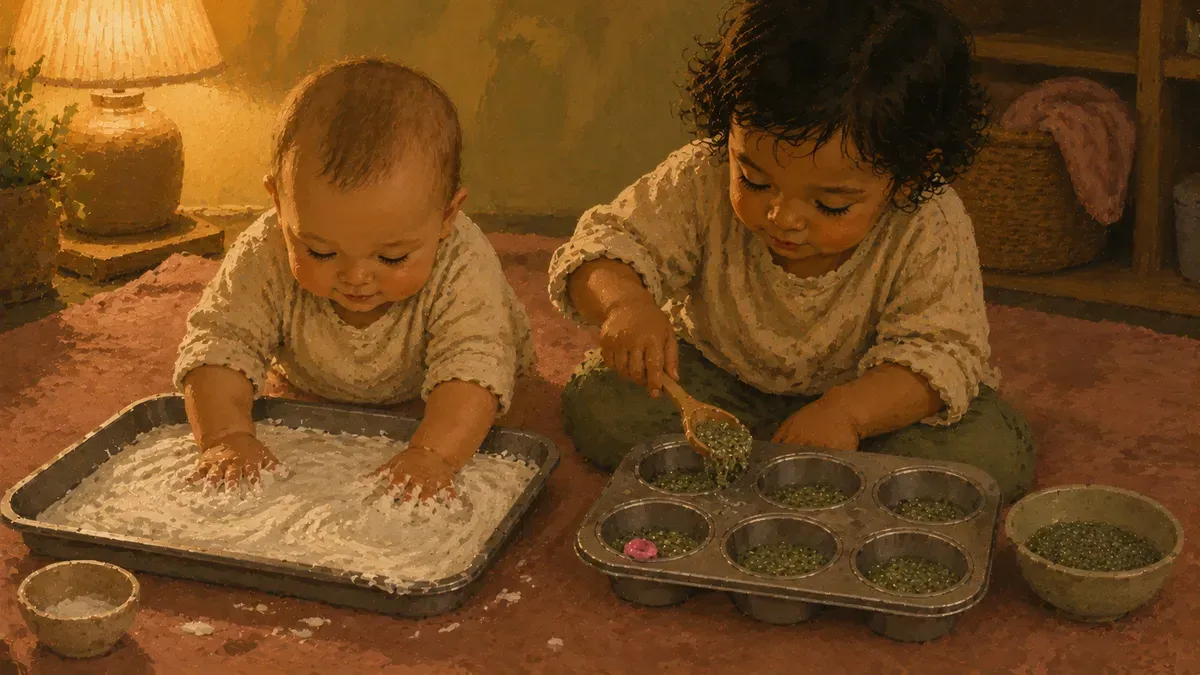
Twelve to Twenty-Four Months: Scoop, Pour, and Squish
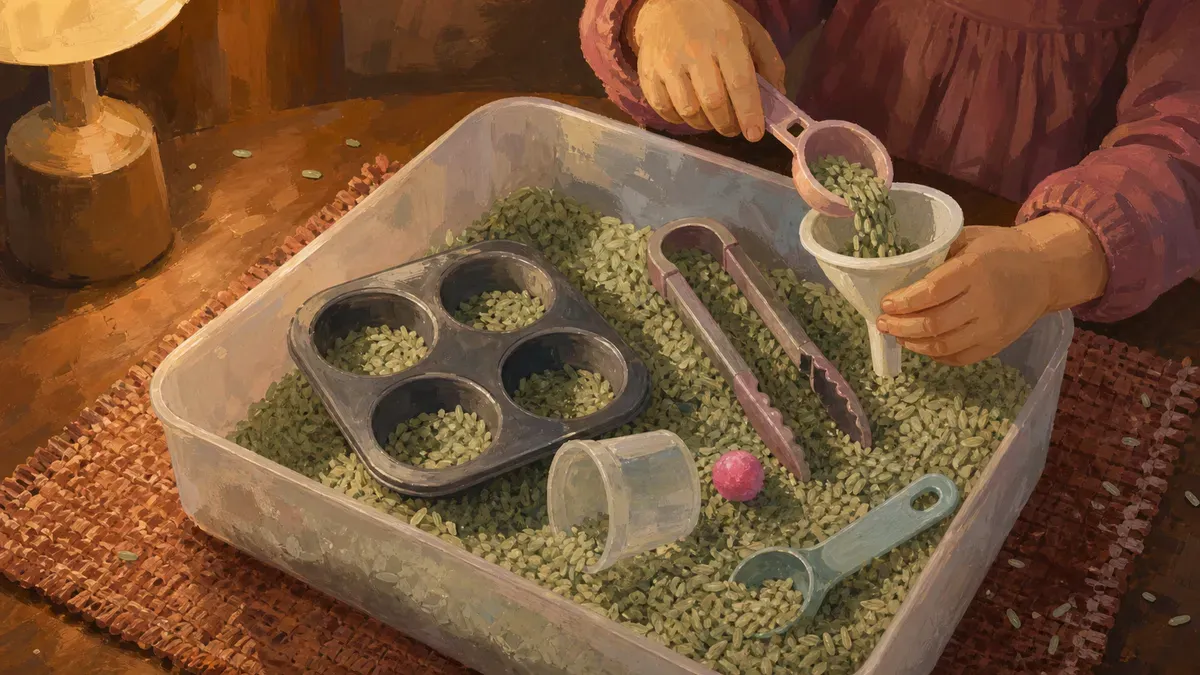
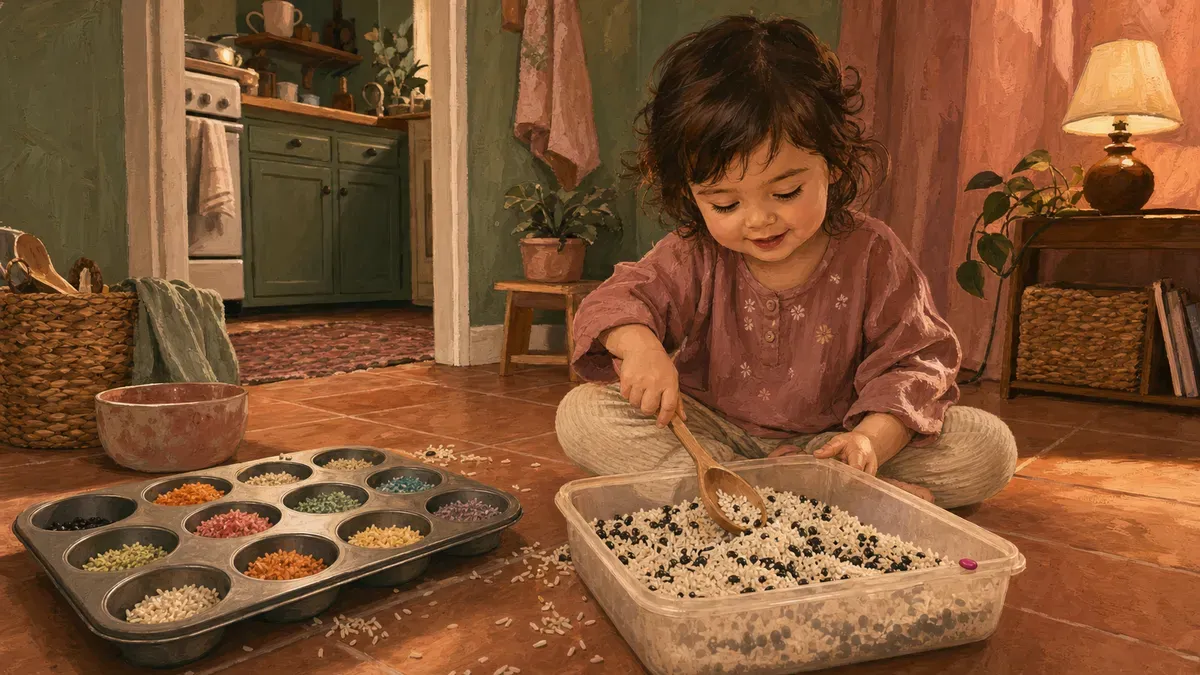
Once a toddler is upright and moving around, the bin gets to do more. Fine-motor skills are developing fast at this stage, and scooping, pouring, and transferring material from one container to another is exactly what those hands need to practice.
Chia gel is a standout here. The texture is strange enough to hold attention but soft and safe if mouthed. Oobleck rewards confident hands and puzzles timid ones in equal measure. Cooked pasta with a spoon and a muffin tin will buy a surprising stretch of time.
Picky eaters sometimes get their first quiet contact with a food this way. Toddlers who refuse peas at dinner will often poke them around a bin without any drama, and this pediatric feeding resource on food exposure backs low-pressure, repeated contact as a path toward food familiarity. More on that in the sensory bins picky eaters guide.
Safety, Setup, and Cleanup Without the Stress
Most of the work happens before the bin hits the floor. A quick allergen scan and a look for choking hazards takes two minutes, and a little setup on the front end means cleanup isn’t the reason you skip it.
Allergen and Choking Checks Before You Start
Before you fill the bin, run through the short list. Check every recipe ingredient against your child’s known allergens: gluten shows up in flour-based recipes, dairy in yogurt and pudding fillers, and tree nuts in coconut. If you’re unsure, swap the ingredient.
- Choking: nothing hard or dry for a child who still mouths things
- Water beads: skip them entirely
- Food coloring: food-grade gel only; liquid dye stains skin
The CDC’s guidance on choking hazards for young children advises watching children at all times and keeping items cut to a size and texture appropriate for their developmental stage.
The American Academy of Pediatrics recommends parents avoid them in homes with young children; the CPSC documented over 8,000 U.S. emergency department visits tied to water beads between 2007 and 2022, with at least one confirmed infant fatality.
Supervise every session. Taste-safe means safer, not hands-off.
Easy Setup, Storage, and Extending Play
A cheap plastic mat under the sensory bin catches most of the mess before it reaches the floor. A Sterilite tote works for both play and storage: fill it, play, snap the lid on, and it’s done.
Fridge-safe fillers like chia gel and cooked pasta go straight into an airtight container and keep for several days. Check before reuse. If it smells off, toss it.
Rotation keeps a bin interesting longer. Change up the tools before you replace the filler entirely. You’ll get more sessions from the same batch.
For the full how-to, see our complete guide to toddler sensory bins for every filler type, and how to set up diy sensory bins for first-time setup from scratch.
Found this useful? Save it for the next rough afternoon.
Questions parents ask me about this
What taste safe fillers can I use for sensory play with toddlers?
Dry pantry staples work well: oats, dyed pasta, popcorn, cereal, and shredded coconut are all solid starting points. Soft and chilled options like yogurt blobs, pudding, or jello give a completely different texture experience. Chia gel and oobleck (cornstarch and water) round out the list for kids who want something wetter and stranger to explore.
Is taste safe sensory play the same as edible sensory play?
Close, but not the same. Taste safe means the material is non-toxic if mouthed or swallowed in small amounts, which is the minimum bar for any child still putting things in their mouth. Edible means the material is actual food, safe to consume in larger quantities. For toddlers under two, edible setups are the safest choice since mouthing at that age is frequent and expected.
At what age can babies start taste safe sensory play?
Age-by-age guidance is covered in the age and stage section above, so check there for the full breakdown.
How long does chia seed sensory play last before it goes bad?
Chia gel made with one-quarter cup of seeds soaked in two cups of water keeps two to three days in the fridge in a sealed container. Check it before reuse: if it smells off or looks discolored, toss it. It thickens more as it sits, so stir in a splash of water on day two if it has gotten too stiff to scoop.
Can I use food coloring in taste safe sensory bins?
Yes, food-grade gel coloring is the right choice. It gives vibrant color with very little product, it's non-toxic, and it won't stain skin the way liquid craft dyes can. For dry fillers like rice or pasta, mix the gel into a small amount of water first, toss the filler to coat evenly, then spread it to dry before play.
What should I do if my toddler keeps eating the sensory filler?
For kids under two, eating the filler is completely expected behavior. The fix is simple: choose fillers they can safely swallow, like plain oats, yogurt, or cooked pasta. If an older child eats in large amounts and the filler is taste safe but not meant as a meal, redirect with a scoop or spoon to channel the oral input. If heavy mouthing continues well past age three, bring it up with your pediatrician.
How do I store and reuse taste safe sensory materials?
Dry fillers like oats and dyed pasta store in a sealed bag or container at room temperature and hold up for multiple sessions. Wet fillers including chia gel, pudding, and jello go in an airtight container in the fridge and should be checked before each reuse. Rotating tools between sessions extends a filler's play life without wasting it.
Written by
Nora Hayes
Mom of two and a former preschool aide. I share the screen-free sensory play and calm-down ideas I test at my own kitchen table, plus what the moms in my little meet-up swear by. A parent passing on what works, not a doctor or a therapist.
More about NoraKeep going
All Sensory Bins-
 Sensory Bins
Easy Sensory Activities You Can Set Up in 10 Minutes
Toddler melting down and you've got 10 minutes? Easy sensory activities using pantry staples. Pick one, set it up, buy yourself some peace.
-
 Sensory Bins
Sensory Play Toys: 15 Tools That Build Fine Motor
Skip the $40 toys. These 15 sensory play toys build pincer grasp and hand strength, and most cost a dollar. See which an OT reaches for.
-
 Sensory Bins
Sensory Bin Fillers: 20 Pantry Items You Own Now
Skip the craft store: 20 sensory bin fillers already in your pantry tonight, sorted by texture, mess level, and age. Start one in minutes.
-
 Sensory Bins
All About Me Sensory Bin + 29 More Toddler Themes
Out of ideas? The all about me sensory bin starts 30 themed setups toddlers actually play with. One a week, never wing it again.