Sensory Play for 1 Year Olds That Won't End in the ER

Safe sensory play for 1 year olds comes down to one rule: big enough not to choke on, harmless enough to swallow, because at this age everything goes in the mouth. That window matters more than it looks, since a baby’s brain forms over 1 million neural connections per second between birth and age three, and the easiest way to feed it is letting little hands dig into something messy.
I’m Nora Hayes, a former preschool aide and mom of a sensory-seeker, and below I’ll walk you through the choking rules that actually keep play safe, taste-safe bin ideas with big pieces, and no-bin activities for babies who just started walking.
What Sensory Play Means at This Age (and Why It Matters)
Before we get to safety rules and bin ideas, here’s the part that makes all of it worth your evening: what sensory play actually is, and why it does more for a one-year-old than any flashing toy on the shelf.
A Quick, Plain Definition
Sensory play is any activity that lets a baby explore the world through their senses. Touching, squishing, dumping, banging, tasting. That’s the whole thing.
It does not require a Pinterest cart or a single specialty toy. Sensory play for babies happens when your kid drags both hands through a bowl of cold cooked pasta, slaps the surface of the bath water, or peels a wet sticker off their palm. The point is the doing, not the gear.
Sensory stimulation for babies sounds clinical, but at home it just looks like a mess and a delighted face. Hands in, mouth open, fully absorbed.
Give them something safe to get into, then get out of the way. Exploration is the activity.
How It Builds the Brain Before Two
While your one-year-old dumps a cup for the ninetieth time, their brain is doing the heavy lifting. Those early years are a peak window for the wiring tied to language and higher thinking, which is exactly why research on early brain development and play treats hands-on exploration as fuel, not fluff.
Sensory activities for infants feed that wiring directly. Each repetition is a tiny cause-and-effect lesson:
- Tip the cup, the rice falls.
- Bang the spoon, it’s loud.
- Drag a hand through pasta, it scatters.
That loop builds cognitive development one repetition at a time.
An infant sensory activity also quietly trains the body. Pinching a noodle, pressing a button, raking beans toward themselves, all of it builds the fine motor skills they’ll need later to hold a crayon. The same play strengthens language development too, because you narrate it without thinking: “Cold! Wet! Uh-oh, it spilled.”
None of this needs a curriculum. The neural pathways form because your kid is busy and you’re nearby talking. Boring to watch, important to do.
The Choking-Hazard Rules That Keep It Safe
Before you scoop a single thing into a bin, the safety part has to be boring and non-negotiable, because a busy kid you’re standing right next to can still choke in silence. Three rules sort it out: a size test, a taste-safe default, and a quick ranking of what goes in versus what waits a couple of years.
The Toilet-Paper-Tube Test and the 1.25-Inch Rule
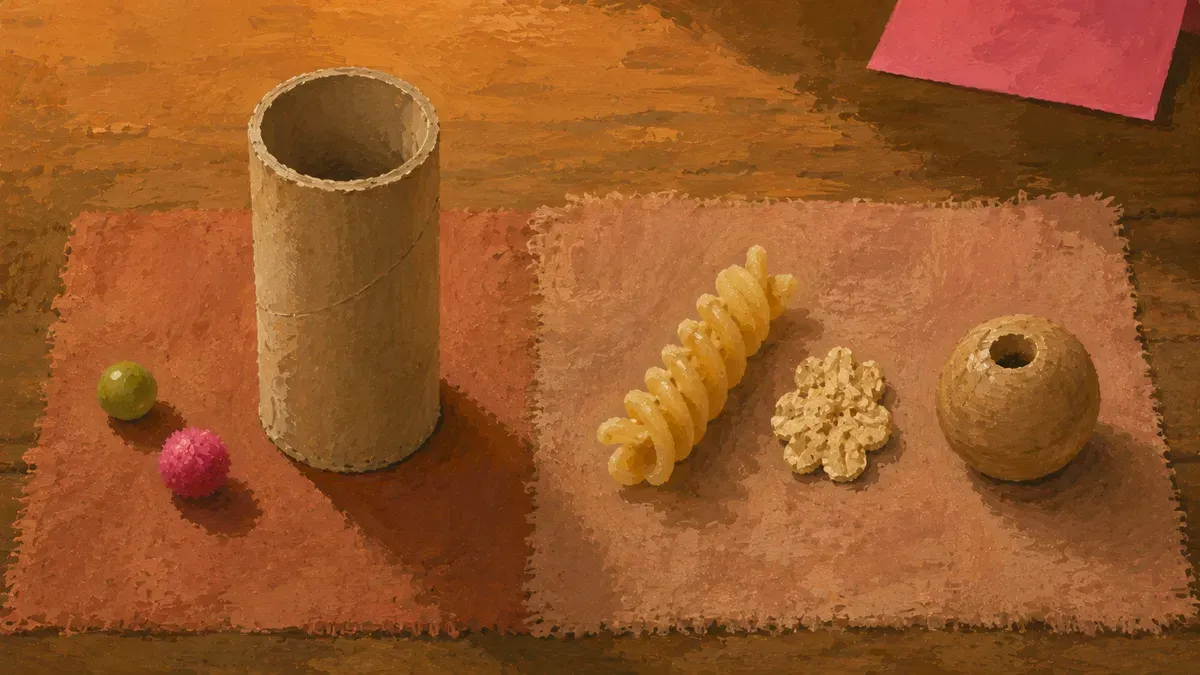
Keep an empty toilet-paper tube in the kitchen drawer. If a piece drops through it, it’s too small for a kid who’s still mouthing everything, and it doesn’t belong in a sensory bin for infants.
That tube is the cheap home version of a real standard. The U.S. Consumer Product Safety Commission uses a small-parts cylinder measuring 1.25 inches across; under federal rules, anything that fits fully inside counts as a choking hazard for children under 3, per pediatric choking hazard size guidelines. A paper tube runs a touch wider, so it catches a few borderline pieces too. Good. Err big.
Supervision matters, but it isn’t the test. The test is the size of the piece in your hand.
If it fits through the tube, it stays out of the bin.
Why Taste-Safe Beats Just Supervised
Here’s the thing about watching closely: choking is fast and quiet, and “I was right there” doesn’t undo it. At this age, every filler ends up in the mouth, so the safer move for any infant activity is choosing materials that are fine to swallow, not just promising to hover.
The mouthing isn’t occasional, either. Research published in Pediatrics found that children under 3 spend about 36 minutes a day mouthing non-pacifier objects. That’s a lot of taste-testing your bin.
So taste-safe is the floor, not the upgrade. If your child can eat it, supervision becomes the second layer instead of the only one. Edible filler plus a watchful eye beats a watchful eye alone, every time.
Filler Safety, Ranked
Not every filler is created equal. Here’s roughly how I’d rank the usual suspects for a still-mouthing toddler, safest first.
- Plain oats. Big, dry, edible, easy cleanup. My go-to first bin.
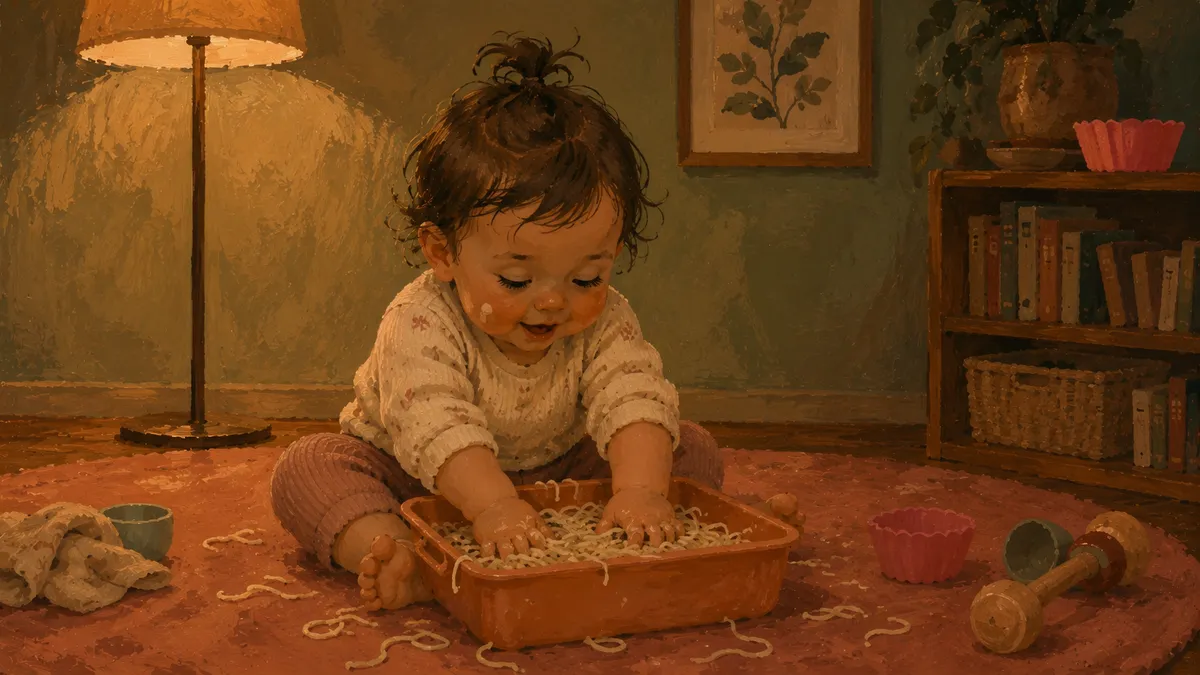
- Cooked pasta. Soft, big pieces, taste-safe. Slippery, messy, worth it.
- Plain yogurt. Pure mouthing-stage gold for a smear-and-taste tray.
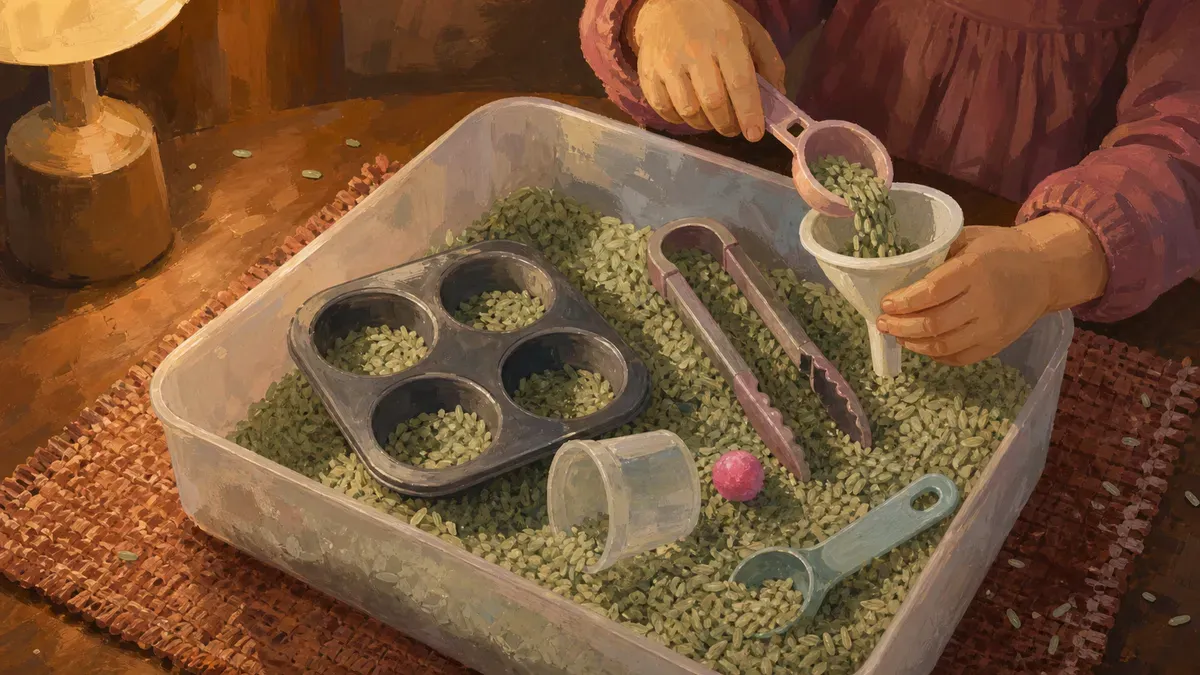
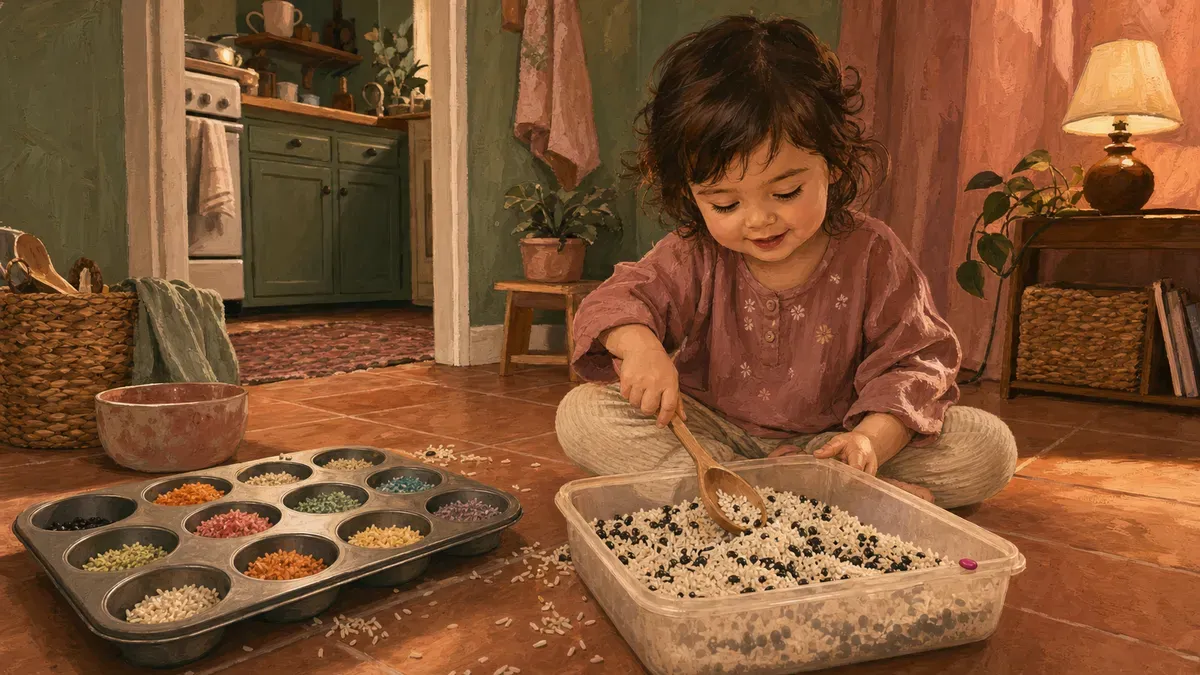
- Dyed rice. Skip the rice play for now. Grains are small enough to choke on, and dyed rice is generally recommended for ages 3 and up no matter what food coloring you used.
- Water beads. A hard no, even for water play. The CPSC logged nearly 7,000 water bead ingestion injuries in U.S. emergency rooms from 2018 through 2022, including the death of a 10-month-old in 2023.
The pattern is simple. Big and edible wins; small, swellable, and dyed waits. For more big-piece setups built around this rule, see our taste safe sensory play ideas. Two years from now, the rice and beads can come out. Today, oats and pasta carry the whole show.
Taste-Safe Sensory Bin Ideas With Big, Safe Pieces
At this age, the only rule is whether a filler is safe to grab and safe to swallow, and every bin here clears both. Here are the bins I keep coming back to, sorted by what you already have on hand and what your kid is itching to do.
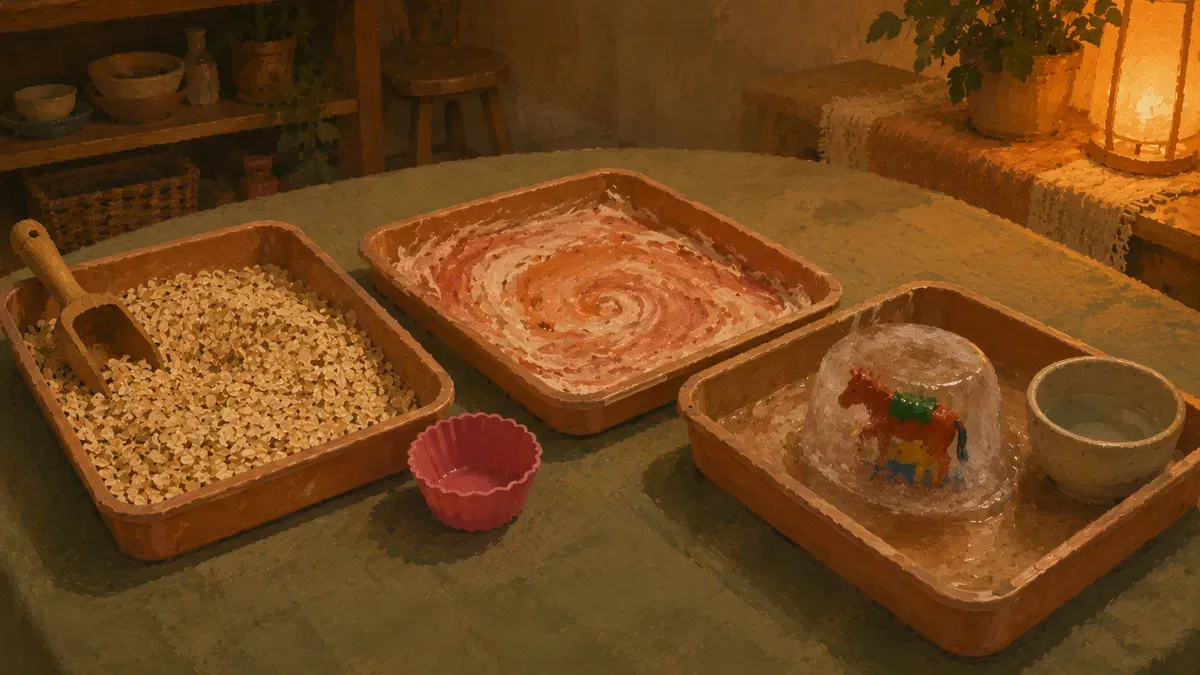
- Edible kitchen bins, oats, pasta, yogurt, for babies who put everything in their mouth
- Big-piece bins like frozen toy rescues and sponges, when you want something that isn’t food
- Scoop-and-pour setups that give the dumping urge somewhere to land
Edible Bins From Your Kitchen
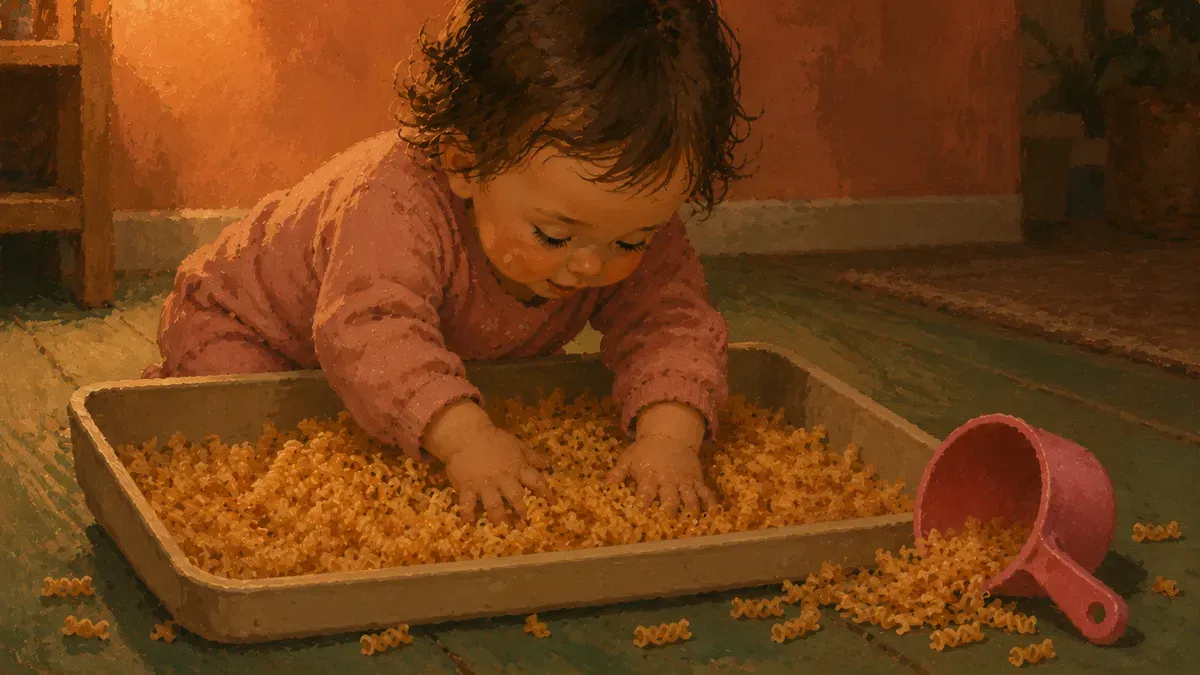
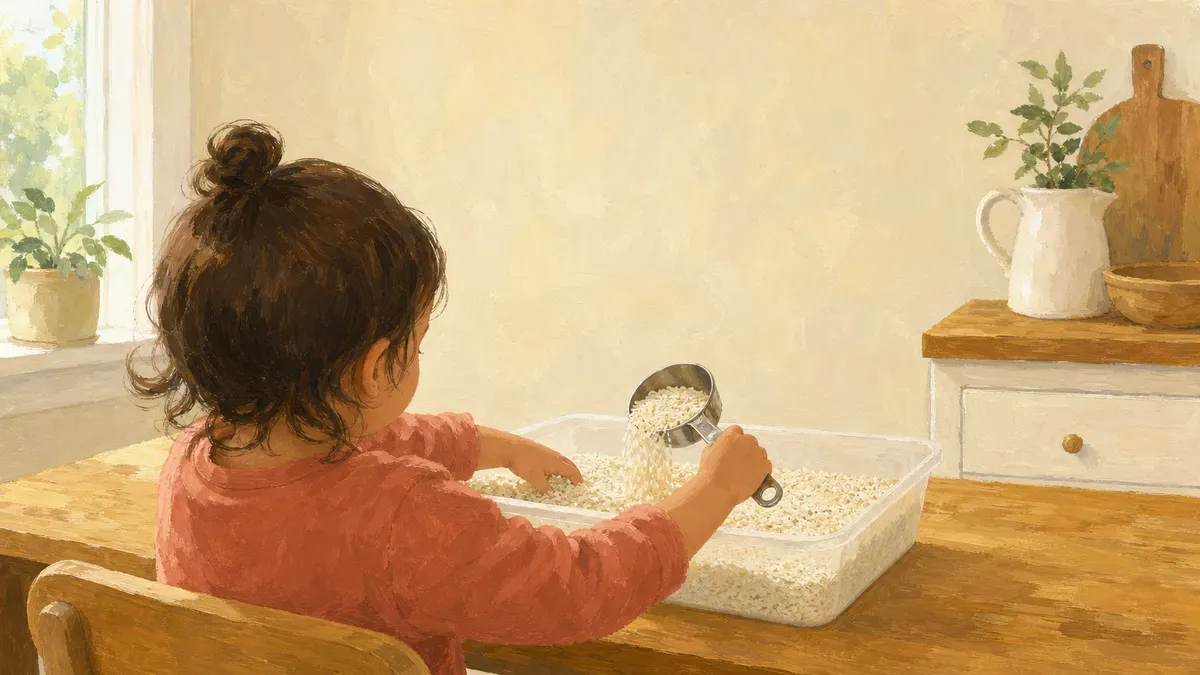
The fastest sensory bins for 1 year olds live in your pantry, and every one of them is fine if it ends up in the mouth. Dry oats in a shallow tub is the no-effort starter. Dump a cup in, add a measuring scoop, and you have a bin in under a minute.
Cooked spiral pasta, cooled and a little slippery, is the one June asked for on repeat. The fat curls are easy to pinch and far too big to swallow.
For color without the dye worry, smear plain yogurt with a drop of food coloring straight onto a high-chair tray. Edible paint they can lick off their fingers, no panic.
No shopping required for any of them.
None of it is fancy. All of it is safe to eat, which is the whole point under two.
Big-Piece Bins That Beat Choking Risk
When you want a bin that isn’t food, the rule flips to size: every piece has to be too big to fit in a mouth. My favorite is the frozen toy rescue. Freeze a couple of large plastic animals in a bowl of water overnight, pop the ice block into a tub, and let your kid free them with warm water and bare hands.
Water play does the heavy lifting here, and the toys are palm-sized on purpose.
- Large wooden blocks in a few inches of water: drop them in, splash, repeat.
- Big kitchen sponges cut in half instead of pom-poms, wet and squeezable, too large to choke on.
A sensory bin for 18 month old explorers should never make you hover with a finger ready to fish something out.
Anything that fits in a closed fist and disappears from view has no place in a bin for a one year old.
These are the sensory bins for one year olds I set up when I actually want to drink my coffee.
Scoop, Pour, and Dump Setups
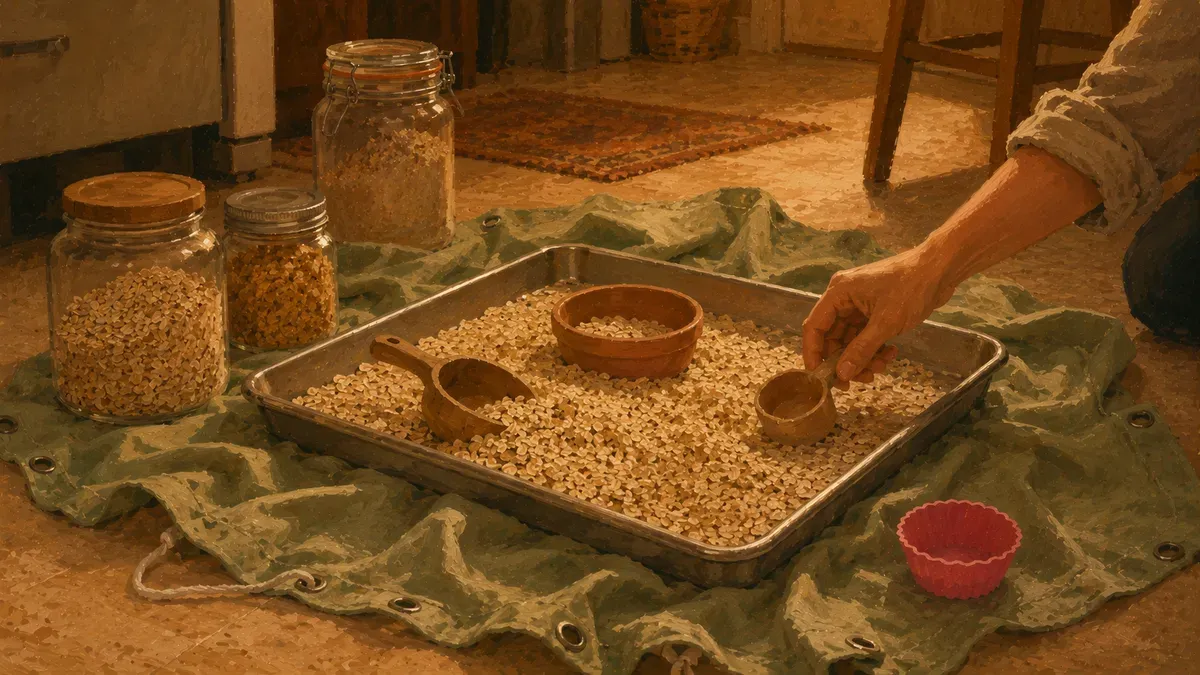
The dumping urge is not misbehavior. It is the developmental job right now, and a good bin gives it somewhere to go. A scoop-and-pour setup takes two minutes to put together.
- One filler: oats or pasta
- Two containers of different sizes
- A scoop, a funnel, and an empty cup
Scoop and pour is where the real fine motor skills show up. Hand dominance starts appearing around 12 to 13 months, and accurate scooping sharpens up around 15 to 18 months, according to the OT Toolbox. So if your 13-month-old mostly dumps and barely scoops, that is exactly on track.
Keep the sensory bins for 1 year old setups dead simple: one filler, two or three vessels, a tray underneath to catch the spill. If you want a step-by-step for a first one, here is how I build diy sensory bins from scratch.
For more scoopable, big-piece setups as your kid grows into them, browse our sensory bins for toddlers. Let them dump. Refill the cup. That refill is you buying ten more minutes, and ten minutes counts.
No-Bin Sensory Activities for Babies and New Walkers
Not every baby is ready for a bin, and that’s fine. Before they can sit and scoop, the play comes to them, on the floor, in your lap, and against a tray, so here’s what to reach for from the newborn fog through those first wobbly steps.
From Birth to Six Months
A newborn isn’t grabbing anything yet, so you bring the show to them. Hold your face close and let them stare, because according to the AAP via HealthyChildren.org, newborns see best at 8 to 12 inches, the exact gap between your face and theirs during a feed, and by 4 months they lock onto circular high-contrast patterns. That’s your whole early toolkit: a black-and-white card, a slow-moving spoon, your own face.
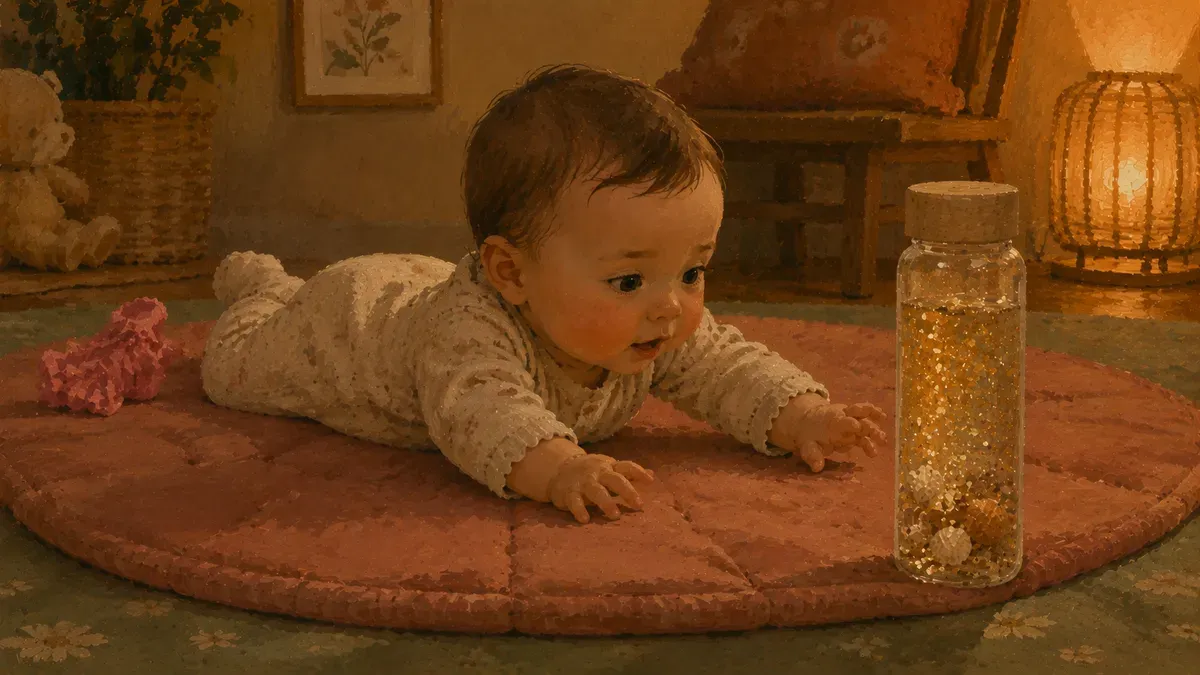
Tummy time is the real workhorse of newborn sensory activities. Pathways.org recommends working up to 15 to 30 minutes a day by 2 months. - A sealed sensory bottle (water, glitter, a few beads, lid glued shut) propped just out of reach
- The visual pull gives a baby a reason to lift that heavy head
Six to Twelve Months and Sitting Up
Once a baby sits, their hands are free and everything in reach is fair game. This is prime time for sensory activity with infants, feeding the grab-and-mouth instinct safely. A shallow tray of warm water with a couple of cups makes the cheapest baby activity there is, and water play keeps a sitting infant busy long enough for you to drink something hot.
Bubble foam is the other easy win: a squirt of dish soap whipped with a hand mixer until it mounds up like a cloud. Plop it on the high-chair tray and let them squish.
- A basket of textured objects: a wooden spoon, a silicone scrubber, a crinkly cloth
- A muffin tin with one safe surprise in each cup
- A few cooled, cooked spaghetti strands to grab and drop
These are the sensory activities for babies that build fine motor skills with no setup beyond a wipe-down. If you want more sensory ideas for infants through that first year, my guide to infant sensory play through the first year walks it month by month, because what works for activities for infants 0-12 months changes fast.
Table Activities for New Walkers
Most babies start pulling to stand between 6 and 10 months, per Lovevery, and once they’re upright they do not want to sit back down. So meet them standing. A low table, or a coffee table cleared off, becomes the stage, and the height itself builds the leg and core strength behind those first steps.
- Contact paper taped sticky-side-out to the table edge, with big fabric scraps to press on and pull off
- A tray of dry oats with a scoop and a cup for classic scoop-and-pour, done on standing legs
Standing exploration like this doubles as gross motor development, which is half the reason a new walker won’t tolerate sitting in the first place. Table activities for one year olds work because they let the kid do the thing their body is begging to do: stand, reach, and tip something over.
Setting Up Without Breaking the Bank or Your Sanity
The fancy sensory toys at the store are mostly rice and water in a better-looking tub. You can run all of this for almost nothing, and you can keep the mess from taking over the living room. Here is how I do both, plus how to tune it for the kid in front of you.
A First Bin for Under $10
Grab the baking tray you already roast veggies on. That is your bin. The rimmed edges keep everything corralled, and the low sides mean a one-year-old can reach in while standing at the edge.
Now raid the pantry. A box of dry oats runs a couple of dollars and refills the bin three or four times over. Add a measuring cup, a spoon, and a small bowl from your own kitchen, and you have a scoop-and-pour station for the price of the oats.
That is your whole starter kit for infants and young toddlers: one tray turned sensory bin, one pantry filler, a few utensils.
When you want to rotate things without buying anything new, our list of sensory bin fillers you already have at home covers what stays safe at this age.
Mess Control and Cleanup
The oats scattered across the floor are the part that makes you swear off the whole sensory bin idea. So plan for it before you pour.
Lay an old shower curtain or a flat sheet under the tray. When you are done, lift the corners, funnel the spills back in, and the floor is clear in ten seconds. A drop cloth turns cleanup from a chore into a shake-out.
For anything wet, move it. The bathtub is the best play station in the house: a cup of water, a few measuring cups, let them splash, and the cleanup drains away on its own. On warm days, carry the whole thing to the yard.
Keep wet setups within arm’s reach and stay close, because under two, supervision during water play is never optional.
Sensory Play for Sensitive or Seeking Kids
Not every kid wants their hands buried in goop, and that is normal. A PMC study found that only 53% of children have all four sensory patterns sitting in the expected range, so wildly different reactions are common, not a flaw to fix.
A sensory seeker piles it on. Deep bins, big handfuls, the messier the better, because that input is how they settle into self-regulation. Give them volume and let them dig.
A sensory avoider needs a gentler entry: - Start dry, never wet
- Hand them a spoon so their fingers stay clean
- Let them watch before they touch
- If oats feel like too much, try a tray of large dry pasta they can push around without it coating their skin
Follow the kid, not the photo. For setups sorted by stage and temperament, lean on our full guide to sensory bins by age to match the bin to your own child. The right bin is the one your kid will actually touch. Cheap, contained, tuned to them, that beats anything fancy. Start with the tray tonight.
Found this useful? Save it for the next rough afternoon.
Questions parents ask me about this
What sensory play ideas are safe for 1 year olds?
Stick to fillers that pass the toilet-paper-tube test: anything that fits through a cardboard tube is a choking hazard, so it stays out of the bin. Safe starting points include oats, cooked pasta, plain yogurt spread on a tray, and water in a shallow dish. Keep pieces big, keep everything taste-safe, and you're covered.
At what age can babies start sensory play?
From birth, though what it looks like changes fast. A newborn benefits from high-contrast images and skin-to-skin textures. By around four months, they track objects and reach. Tummy-time tracking with a sealed sensory bottle works well in those early months. A proper bin with scooping and pouring becomes realistic closer to 9 to 12 months, once they can sit independently and hold a scoop.
What if my 1 year old eats the sensory bin filler?
If you've used taste-safe materials, eating a bit is fine. Oats, plain cooked pasta, crushed cereal, and yogurt are all meant to be mouthed. That's the rule: if it's not safe to swallow, it doesn't belong in a 1-year-old's bin. Taste-safe first, supervision second, not the other way around.
How long should a sensory play session last for a toddler?
However long they stay interested. For most 1-year-olds, that's somewhere between 5 and 20 minutes. Two minutes counts as a win if they engaged. You're following their lead, not clocking a set duration.
Do you have to supervise sensory play the whole time?
Yes, at this age. A 1-year-old should never be left alone with a sensory bin, even a taste-safe one. Supervision lets you catch anything unexpected and narrate what they're doing, which builds language along the way. Think of it as being nearby while they play, not hovering over them.
How do I store and reuse sensory bin materials?
Dry fillers like oats go back into an airtight container between sessions. Cooked pasta doesn't hold well, so toss it after a session or refrigerate it if you plan to reuse it the same day. Water and foam setups are single-use. Label your containers so setup next time takes about 30 seconds.
Is sensory play helpful for picky eaters?
Playing with food textures outside of mealtime, with no pressure to eat, can reduce the anxiety some kids feel around unfamiliar foods. There's no guarantee, and it's not a fix. But letting a toddler squish, poke, and smell foods in a low-stakes context builds familiarity over time. If food aversion is a real concern, an occupational therapist or feeding specialist is the right person to guide you.
Written by
Nora Hayes
Mom of two and a former preschool aide. I share the screen-free sensory play and calm-down ideas I test at my own kitchen table, plus what the moms in my little meet-up swear by. A parent passing on what works, not a doctor or a therapist.
More about NoraKeep going
All Sensory Bins-
 Sensory Bins
Easy Sensory Activities You Can Set Up in 10 Minutes
Toddler melting down and you've got 10 minutes? Easy sensory activities using pantry staples. Pick one, set it up, buy yourself some peace.
-
 Sensory Bins
Sensory Play Toys: 15 Tools That Build Fine Motor
Skip the $40 toys. These 15 sensory play toys build pincer grasp and hand strength, and most cost a dollar. See which an OT reaches for.
-
 Sensory Bins
Sensory Bin Fillers: 20 Pantry Items You Own Now
Skip the craft store: 20 sensory bin fillers already in your pantry tonight, sorted by texture, mess level, and age. Start one in minutes.
-
 Sensory Bins
All About Me Sensory Bin + 29 More Toddler Themes
Out of ideas? The all about me sensory bin starts 30 themed setups toddlers actually play with. One a week, never wing it again.