Scissor Cutting: When Kids Are Ready and How to Teach It

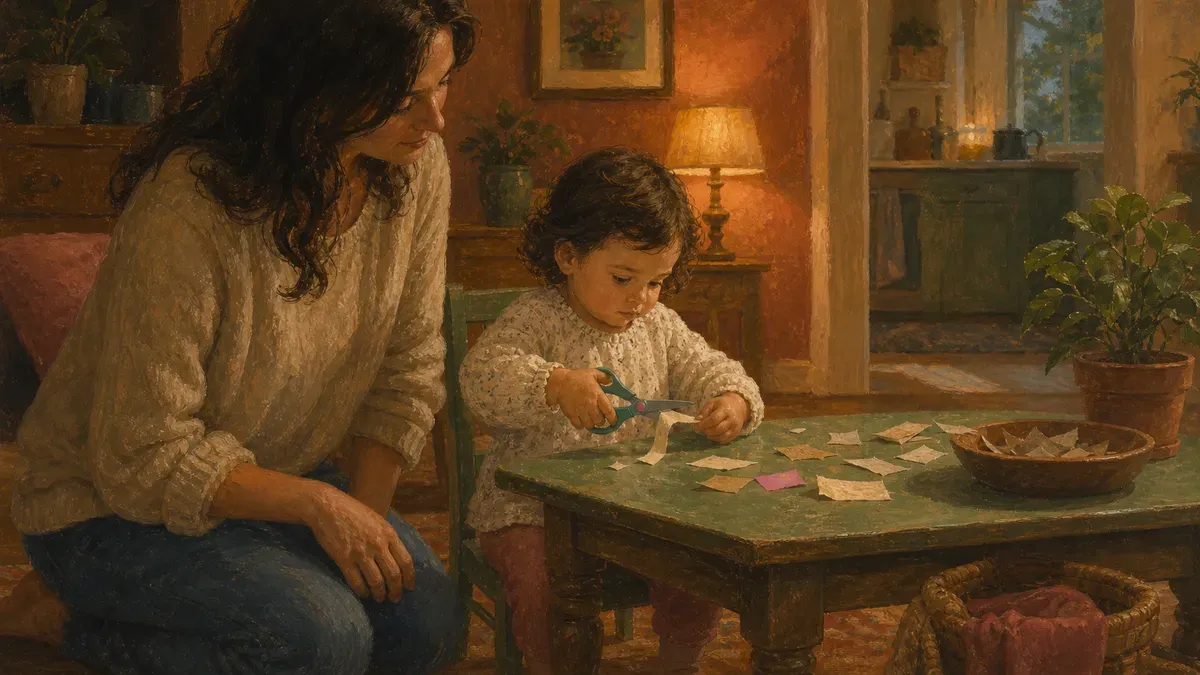
Most kids are ready for toddler-safe scissors somewhere between age 2 and 3, and the very first thing to teach is a single snip, not a straight line. I’m Nora Hayes, a former preschool aide raising an autistic sensory-seeker and a busy three-year-old, and I’ve handed scissors to more wiggly little hands than I can count.
Below, I’ll walk you through when to start, how to set the grip, and how to build up to real cutting without the frustration tears.
The plan in brief:
- Hand over toddler-safe scissors around age 2 to 3, once they can open and close them on cue
- Set the thumb-up grip: thumb in the small hole, two fingers in the big one
- Start with single snips on thin paper strips before you ever cut along a line
When Kids Are Ready to Start Cutting
Ready doesn’t arrive on a birthday. It shows up in the hands, and below I’ll cover the age most kids start, the skills that have to come first, and the signs to wait a little longer.
The Age Most Kids Are Ready
Most toddlers can start opening and closing safety scissors and making tiny snips somewhere around age 2 to 3. That’s it at first. A single snip on a paper strip, not a tidy line.
Real cutting along a line shows up later. According to NAPA Center’s scissor skills timeline, kids learn to open and close scissors and make small snips at 2 to 2.5 years, can cut down a 6-inch line and stay within a quarter inch by 3.5 to 4.5 years, and handle curves and complex shapes by age 6.
So if you’re shopping scissors for 2 year olds, buy for snipping, not for shapes. These are the developmental milestones to expect, and most preschoolers spend a good year on cutting practice before any of it looks neat.
Skills That Need to Come First
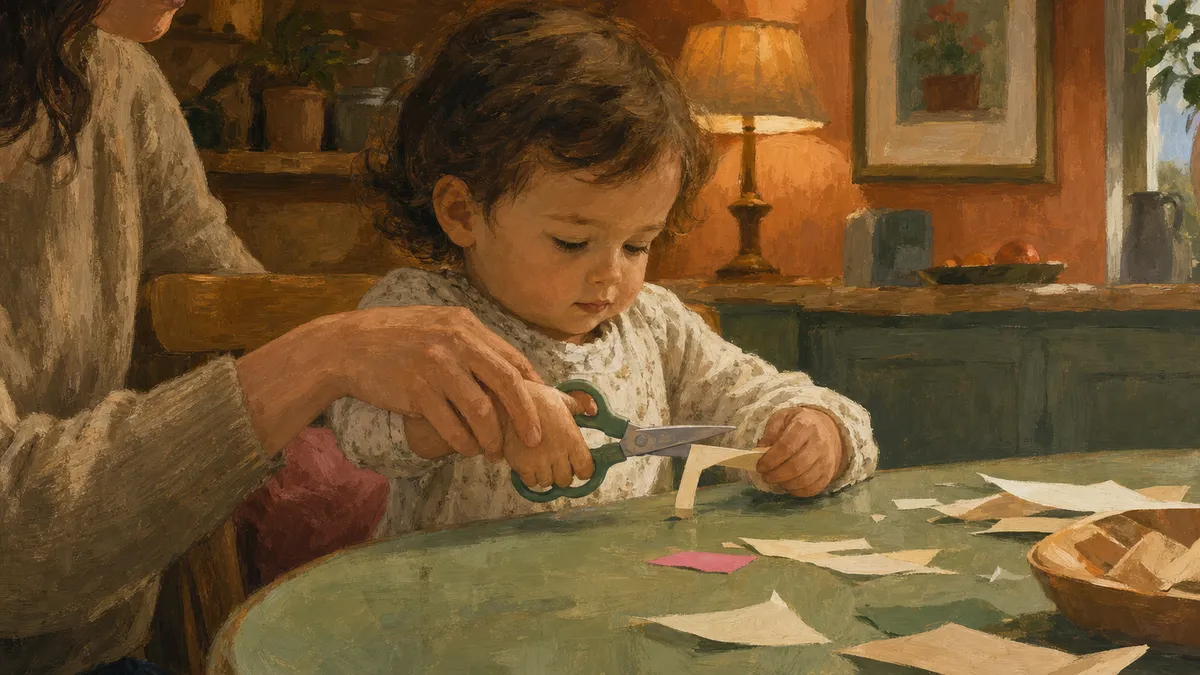
Scissors are a hand-strength job before they’re a cutting job. The NHS occupational therapy team in Devon lists the prerequisites plainly: a child needs strong wrist and hand muscles to open and close the blades, plus the ability to use the thumb, index, and middle fingers while keeping the other fingers still.
That last part is the tripod grasp, and the same finger control shows up when your kid holds a crayon or picks up a single Cheerio. Thumb isolation matters too. If the thumb can’t work on its own, the scissors won’t either.
You build all of it through play, not drills: - Squeeze tongs to build hand strength
- Rip paper strips for finger control
- Pop bubble wrap to practice isolated finger movement For a deeper progression, here’s our full guide to building pre-writing and scissor skills, and you can fold these fine motor skills into the everyday fine motor activities you’re already doing.
Signs Your Child Is Not Ready Yet
Watch the hands, not the calendar. If your kid can’t hold the scissors steady, can’t open and close them on purpose, or melts down within a minute, that’s not failure. That’s a hand that needs more strength and a little more finger control first.
Wobbly grip and poor postural stability go together, so a kid who can’t sit upright at the table often can’t manage the blades either. Set the scissors aside for a few weeks. Go back to squeezing, pinching, and pulling. Try again, and read the scissor skill developmental milestones by age if you want a benchmark to check against.
How to Hold Scissors the Right Way
Grip is the first real skill to teach, and there are two parts to it: the hand doing the cutting and the hand holding the paper.
The Thumbs-Up Grip
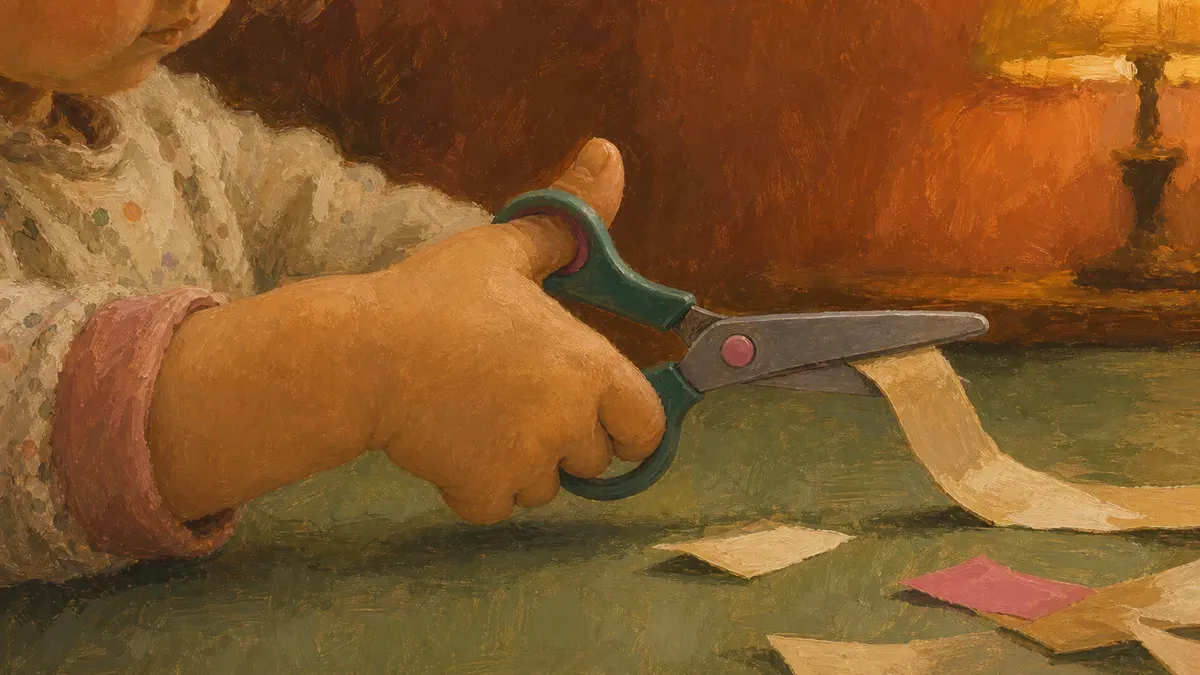
Thumb goes in the small hole. Index and middle fingers go in the big hole. That’s the setup. The part most kids miss is keeping the thumb pointing up toward the ceiling. Not sideways, not down. Up.
When the thumb flips sideways, the scissors rotate and the blades fold the paper instead of cut it. Everything jams. If you see your child struggling and the paper keeps bending, check that thumb before anything else.
Show them a thumbs-up before they pick up the scissors. Then say “keep your thumb like that” once they’re holding them. That one cue works better than any long explanation. Just like pencil grip toddlers practice the correct grasp before they write, scissor grasp starts with thumb isolation: the thumb moving on its own, independently from the other fingers.
- Practice holding the scissors without paper first.
- Open and close, nothing else.
- A few dry runs make cutting easier when paper appears.
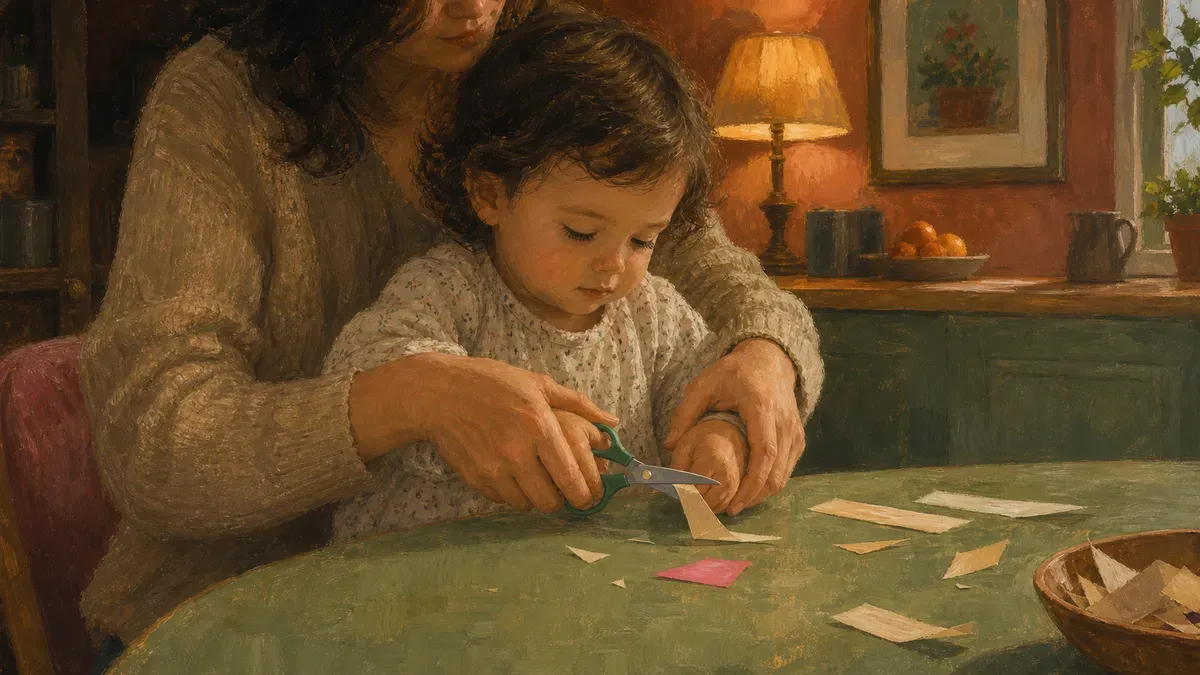
The Helper Hand That Guides the Paper
The hand NOT holding the scissors matters just as much as the one that is.
The non-dominant helper hand holds the paper and turns it. The cutting hand mostly stays put and opens and closes. The paper moves. The scissors don’t chase it around. Watch most beginners and you’ll see the opposite: they twist the scissors in circles, which is slow and awkward.
This is bilateral coordination at work. NAPA Center notes that by 2.5 years children begin more complex two-hand tasks like cutting, with each hand taking a different role. One hand leads the cut. The other feeds the paper. Hand-eye coordination develops right alongside it, which is why cutting is such good practice even before the results look tidy.
Before your child starts, point to each hand. “This hand cuts. This hand holds and turns.” Two jobs, two hands.
Steps to Teach Scissor Cutting at Home
Here’s the whole method in one breath: snip, then cut a line, then make it a game so they keep coming back. Three stages, in order, and you don’t push to the next one until the one before feels easy.
- Single snips: one squeeze, one piece, that’s the whole first lesson.
- Cutting along lines: short, thick, straight lines first, then curves, then angles.
- Making it a game: playdough snakes, fringe grass, confetti; reps that feel like play, not drills.
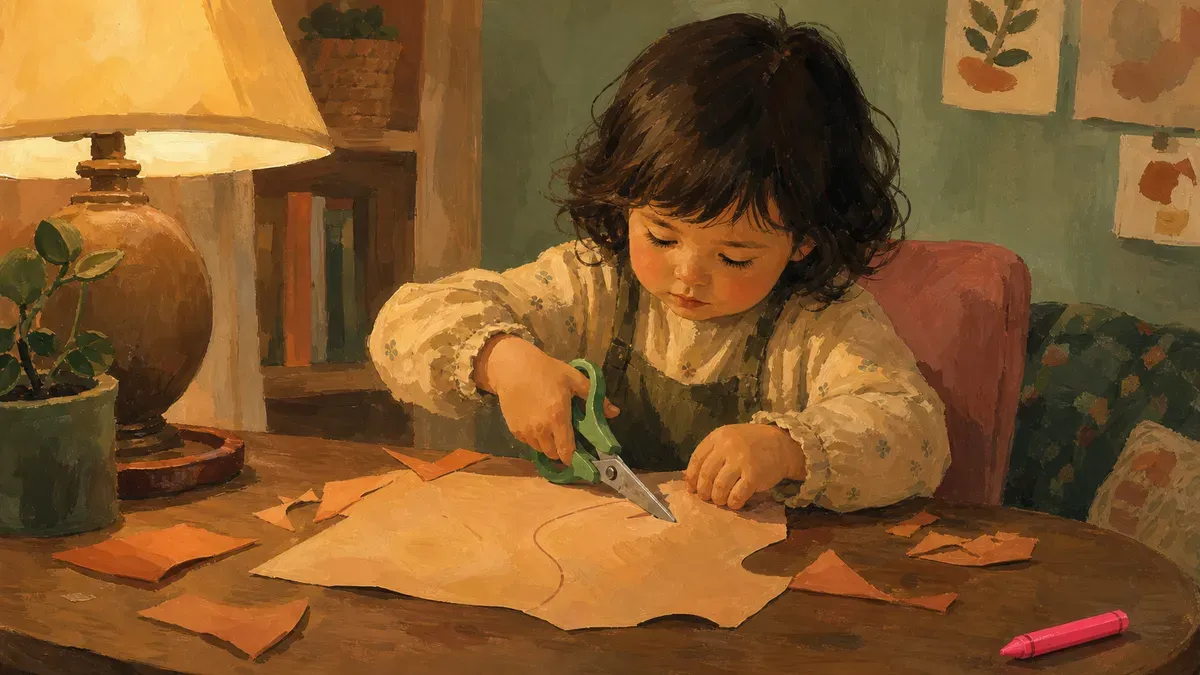
Start With Single Snips
Don’t hand a beginner a whole sheet and a drawn line. That’s three skills at once, and it ends in a crumpled ball and tears. Start smaller than you think.
The very first thing is one snip. Cut a sheet of paper into strips about an inch wide, hold one strip up for them, and let them make a single cut that falls clean off the end. That’s it. One open, one close, one piece on the table.
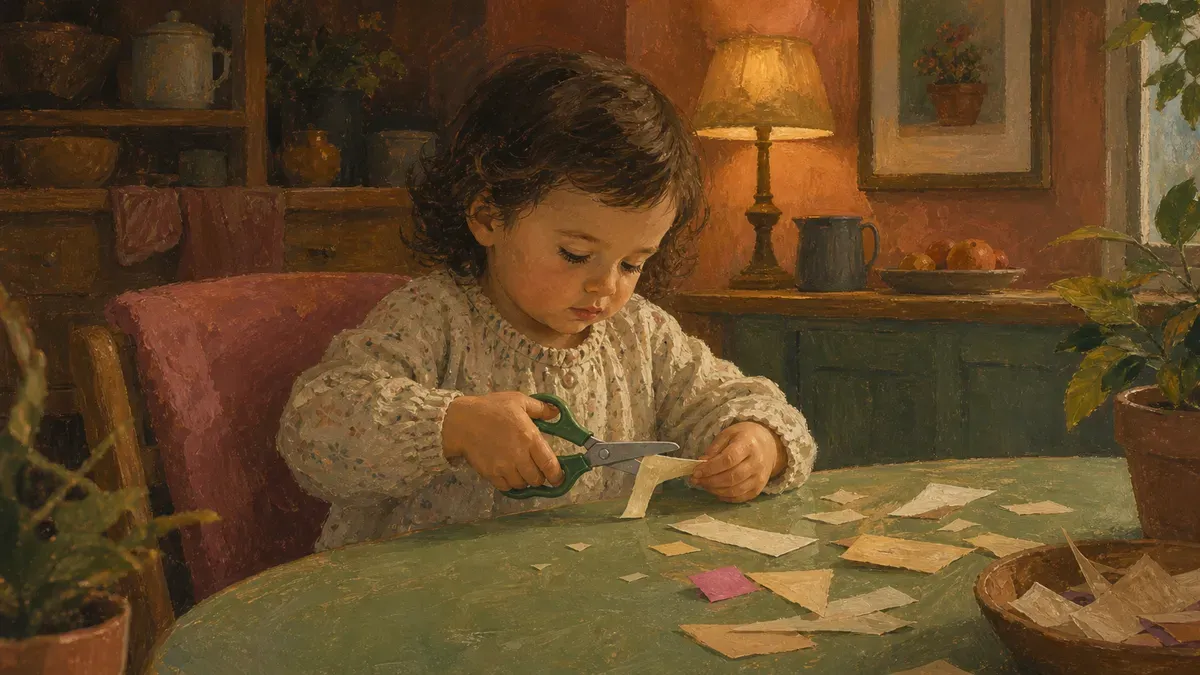
This is exactly how to use scissors at the start: the strip is so narrow that one squeeze finishes it, so the whole job is opening and closing the hand on purpose. Once that’s smooth, widen the strips so they need two snips to reach the end, then three. When they can fringe the edge of a paper without it folding, you’re ready for a line.
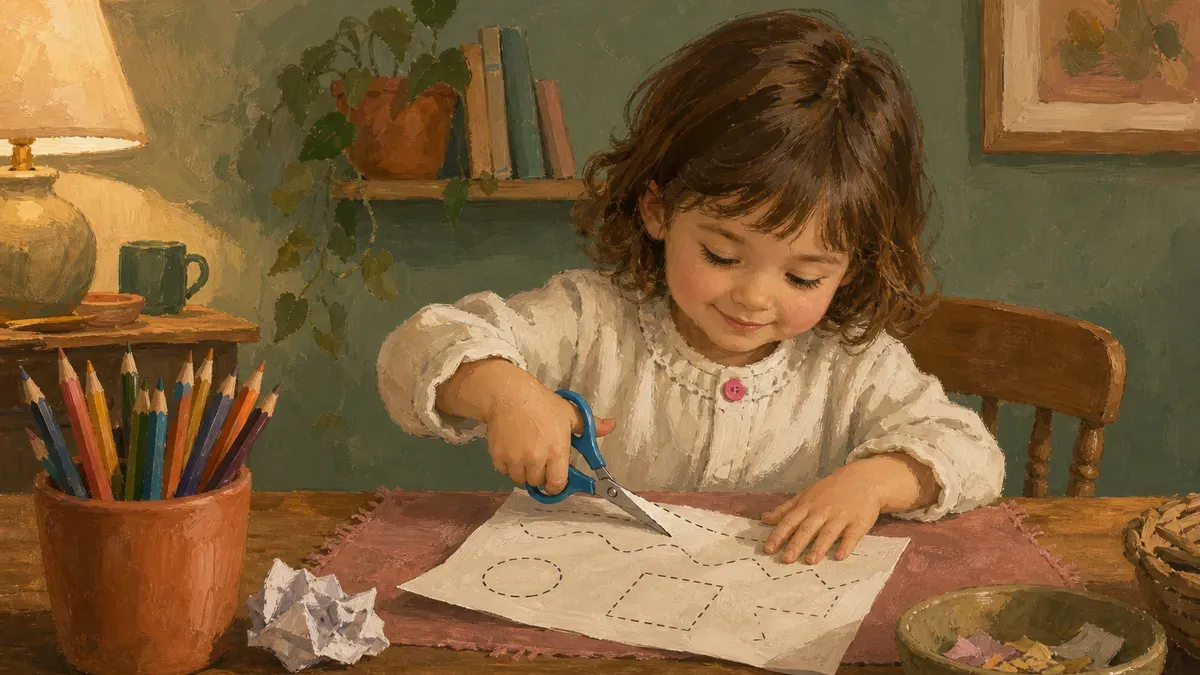
Move to Cutting Along Lines
Fringe snips don’t go anywhere. A line does, and that’s the leap most kids stall on, because now the cutting hand keeps going while the helper hand feeds the paper.
Draw a short, fat straight line, half an inch thick, and let them cut down the middle of it. Thick lines forgive a wobble. As control improves, thin the line, then lengthen it.
Straight comes first for a reason. Per GriffinOT’s scissor skills progression, straight-edged shapes like squares are far easier than curves like circles, and zig-zags are sneaky-hard: the lines are straight, but every corner forces the helper hand to turn the paper mid-cut.
So the order for using scissors on lines goes like this:
- Short straight lines (thick first, then thin)
- Gentle curved lines and circles
- Right angles and zig zag lines last
Don’t skip ahead. If they’re sawing through the corners, back up to curves for a week. That’s how you teach a child to use a scissor on lines without baking in frustration, and it’s the same answer to how do you use scissors on shapes.
Make Practice Stick With Play
A kid who thinks it’s a worksheet quits. A kid who thinks it’s a game asks to do it again. Same cutting practice, completely different buy-in.
Roll playdough into snakes and let them snip the snakes into bites. The OT Toolbox notes that snipping dough snakes nudges the thumbs-up grip on its own, and freezing the dough first adds resistance that quietly builds the fine motor skills behind a steady cut.
Other easy wins: snip sticky-note strips off a pad, fringe the edge of a paper to make grass or a lion’s mane, cut junk-mail flyers into confetti. For more printable ideas you can pull out tonight, these cutting worksheets keep the snipping going without a fresh setup every time. The goal is reps that feel like fun, not drills that feel like homework.
Scissor Safety Rules for Young Children
All those fun reps mean nothing if someone gets hurt. Scissors are a real tool, and even rounded safety scissors can scratch. A few ground rules, set early, save a lot of tears.
Here is what we go over at my house before the first snip:
- Sit down to cut. Standing and walking with open scissors is where accidents happen.
- Keep the tip pointed away from your body and away from anyone nearby.
- When you’re done, close them and set them flat. Don’t carry open scissors across the room.
- To hand scissors to someone, hold the blades and offer the handle.
- No running, ever, with scissors in hand.
For child safety guidance for sharp tools at home, those five cover the essentials.
The rule that actually sticks: scissors sleep when they travel.
Close them, set them down, pass handle-first. Once a child has that reflex, most of the risk is already managed.
Choosing the right scissors matters too, and the next section covers exactly that.
Think about the setup as well: a stable chair, a low table, and no other kids swinging arms beside them. Good scissor skills develop faster when the environment makes a mistake hard to make.
Choosing the Right Scissors for Beginners
Once the setup is solid, the scissors themselves matter more than most parents expect. Two things trip kids up most: a pair that won’t reopen on its own, and a right-handed pair handed to a lefty.
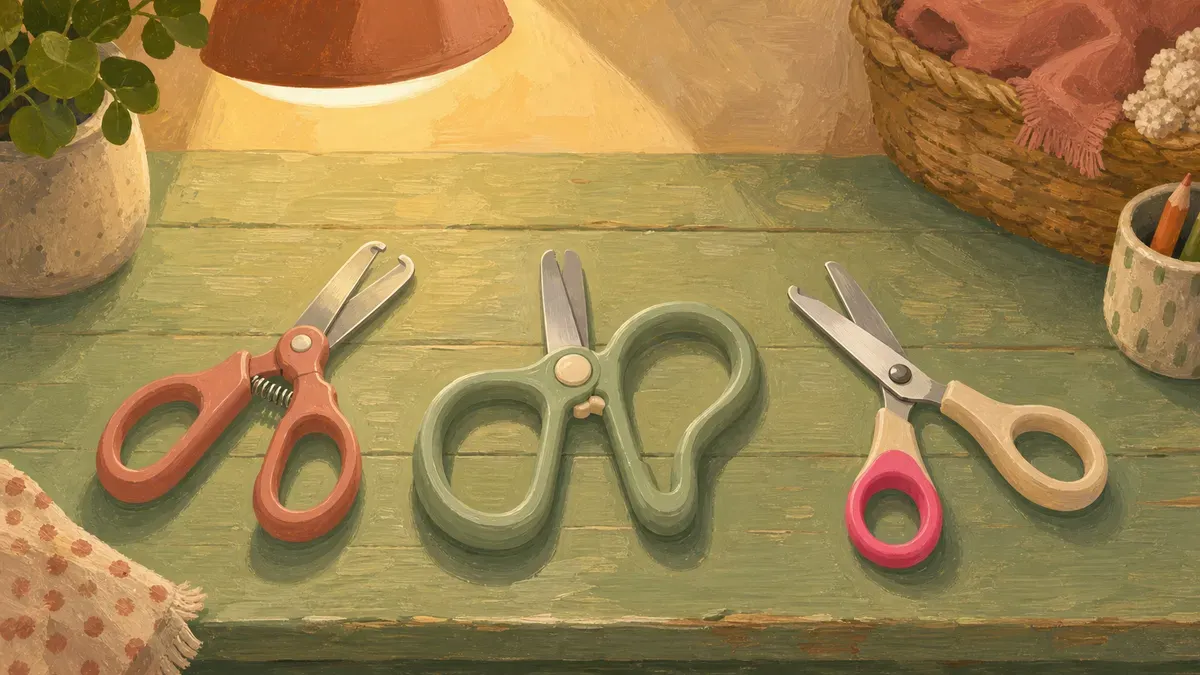
Spring-Loaded and Adaptive Pairs
Two adaptive types come up most often in those conversations.
- Spring-loaded scissors reopen automatically after each cut, so a child only has to squeeze, not fight the blades back apart.
- Easi-Grip scissors use a continuous loop handle that opens when pressure releases. NHS Children and Family Health Devon flags these as a solid option for kids with lower grip strength or limited finger control.
Occupational therapy often recommends adaptive scissors as a first pair, and I’d agree. We started Eli on a spring-loaded pair well before he had the hand strength for standard scissors, and it let him build real cutting reps instead of stalling on the reopen. Good scissor practice worksheets pair well with these because the child can focus on accuracy, not just getting the blades open again.
Left-Handed vs Right-Handed Scissors
If your child’s dominant hand is the left, they need scissors built for it.
- In right-handed scissors, the top blade sits on the right, which works for a right-hander’s line of sight.
- For a lefty, that same blade blocks the cutting line entirely, which is what causes most of the folding and tearing.
GriffinOT explains that left-handed scissors reverse the blade position, putting the left blade on top so a left-handed child can actually see where the cut is going.
Handing a lefty a right-handed pair sets them up to fold the paper and then blame themselves for being bad at scissors. A 2015 motion analysis study on scissor use published in PMC found that left-handers using right-handed scissors showed greater wrist flexion and more musculoskeletal strain, and concluded they should use scissors made for left-handed people. Check which hand your child reaches with first, then buy accordingly.
Common Mistakes Parents Make Teaching Scissors
Most of these don’t feel like mistakes in the moment. They feel like helping. But a few small habits slow down the whole process, sometimes by weeks.
-
Skipping the thumbs-up position check every single session. Thumb sideways is the default comfortable spot for little hands. They drift back to it the second you stop watching. Check the grip at the start of each session, not just the first one.
-
Holding the paper instead of teaching the helper hand. It seems faster to just grip the paper yourself. What it actually does is cut out the bilateral coordination practice they need. Two hands doing two different jobs is the whole skill. Let them manage the paper, even when it wobbles.
-
Moving to lines before snipping is solid. A lot of kids who “can’t cut a line” aren’t ready for lines yet. If your child is rushing or folding the paper, go back to strips for another week. Cutting skills build in sequence; skipping ahead costs more time than it saves.
-
Choosing paper that’s too flimsy. Thin copy paper collapses before a beginner’s blades get through it. Construction paper or cardstock gives enough resistance to build hand strength without turning every cut into a battle.
-
Pushing through frustration. Three minutes of good cutting beats twelve minutes of tears. Stop before the meltdown. The next session goes better.
If you want to pair scissor work with other hand activities, fine motor tracing handwriting scissor skills covers what fits alongside cutting at each stage. Short sessions, clear setup, the right grip. Those three things do more than any fancy scissor ever will.
Found this useful? Save it for the next rough afternoon.
Questions parents ask me about this
When is it safe to start scissor cutting with young kids?
Most kids are ready for their first snips somewhere between age 2 and 3, as long as you start with toddler-safe spring-loaded scissors and stay right next to them. The first step is a single snip on a narrow paper strip, not cutting along a line. Watch for the basics: can they open and close their hand on purpose, and do they have enough sitting balance to stay in their chair? Those two things matter more than the birthday.
Can a 2 year old use scissors safely?
Yes, with the right scissors and full supervision. A 2-year-old is not ready for standard scissors, but spring-loaded toddler scissors that close on their own are designed for hands that aren't fully strong yet. Keep it to short sessions and single snips on inch-wide strips. The goal at this age is just learning that scissors open and close and that the thumb points up. Nothing more.
Why does my child hold scissors upside down?
Because it feels natural to grab them like a pinch, with the thumb pointing sideways or down. When the thumb drops, the blade angle changes and the paper folds instead of cuts, which frustrates everyone. The fix is the thumbs-up check before every snip: thumb in the small hole, pointing straight up toward the ceiling. A few dry runs without paper, just practicing the grip, helps it stick faster than correcting mid-cut.
What scissors are best for a left-handed child?
A true pair of left-handed scissors, where the left blade sits on top. A left-handed child using right-handed scissors can't see the cut line because the top blade blocks it, and the blades push paper apart instead of together. That looks like a skill problem when it's actually a tool problem. Left-handed scissors are widely available and make an immediate difference.
How do I teach scissor cutting to a child with special needs?
Start by matching the scissors to what your child's hands can actually do. Spring-loaded scissors remove the work of reopening after each snip, which helps kids still building hand strength. Loop scissors that require only a squeeze work well for kids who can't manage the standard two-hole grip at all. Break the skill into the smallest possible steps, and if your child has an occupational therapist, ask them to weigh in on the best starting point for your specific kid.
How long does it take a child to learn to cut on a line?
It varies, but most kids go from single snips to cutting a straight line somewhere between ages 3.5 and 4.5. Cutting curves and shapes tends to come later, closer to 5 or 6. Short sessions several times a week move things along faster than one long attempt. If a child has been snipping consistently and still can't hold a line, check whether the helper hand is turning the paper. That's the step most kids skip.
Written by
Nora Hayes
Mom of two and a former preschool aide. I share the screen-free sensory play and calm-down ideas I test at my own kitchen table, plus what the moms in my little meet-up swear by. A parent passing on what works, not a doctor or a therapist.
More about NoraKeep going
All Fine Motor-
 Fine Motor
Scissor Practice Worksheets: 10 Steps to Cutting
Most kids snip before they cut shapes. Use these scissor practice worksheets and 10 activities to build the skill step by step. Start today.
-
 Fine Motor
Cutting Worksheets: 15 Activities Beyond Straight Lines
Bored of straight lines? These cutting worksheets and 15 activities build scissor skills fast — and show exactly where to start today.
-
 Fine Motor
Activities to Build Fine Motor Skills With Pom Poms
The hand strength behind neat handwriting starts with play. Try 20 pom pom activities to build fine motor skills your kid will actually beg to do.
-
 Fine Motor
Fine Motor Skills Activity: 5-Minute Warm-Up Routine
A 5-minute fine motor skills activity warms up little hands before handwriting so letters come out neater. Grab the no-prep routine and start today.