Scissor Practice Worksheets: 10 Activities That Build to Cutting

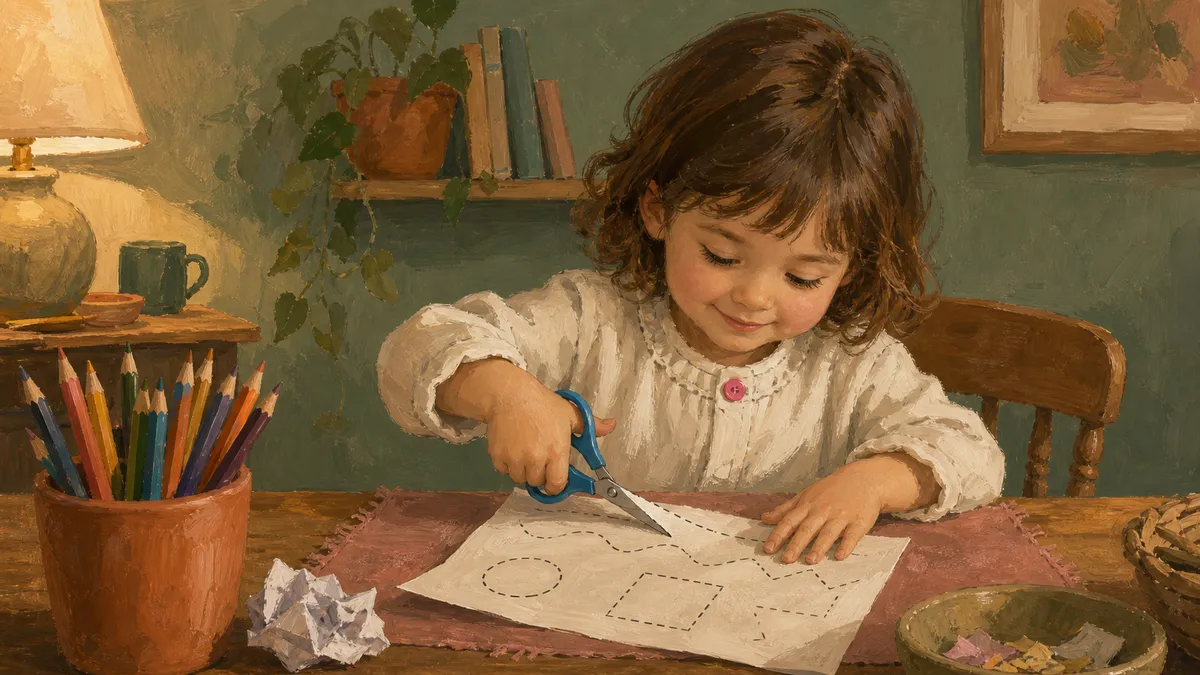
Scissor skills activities work best when you sequence them: hand strength first, snipping second, shapes last. I’m Nora Hayes, a former preschool aide and mom to a sensory-seeking 7-year-old, and skipping that order is exactly why so many kids give up before they ever cut a straight line. Below you’ll find the build-up sequence, ten cutting activities you can set up with stuff already in your kitchen, and a guide to finding the right practice pages once they’re ready.
The plan in brief:
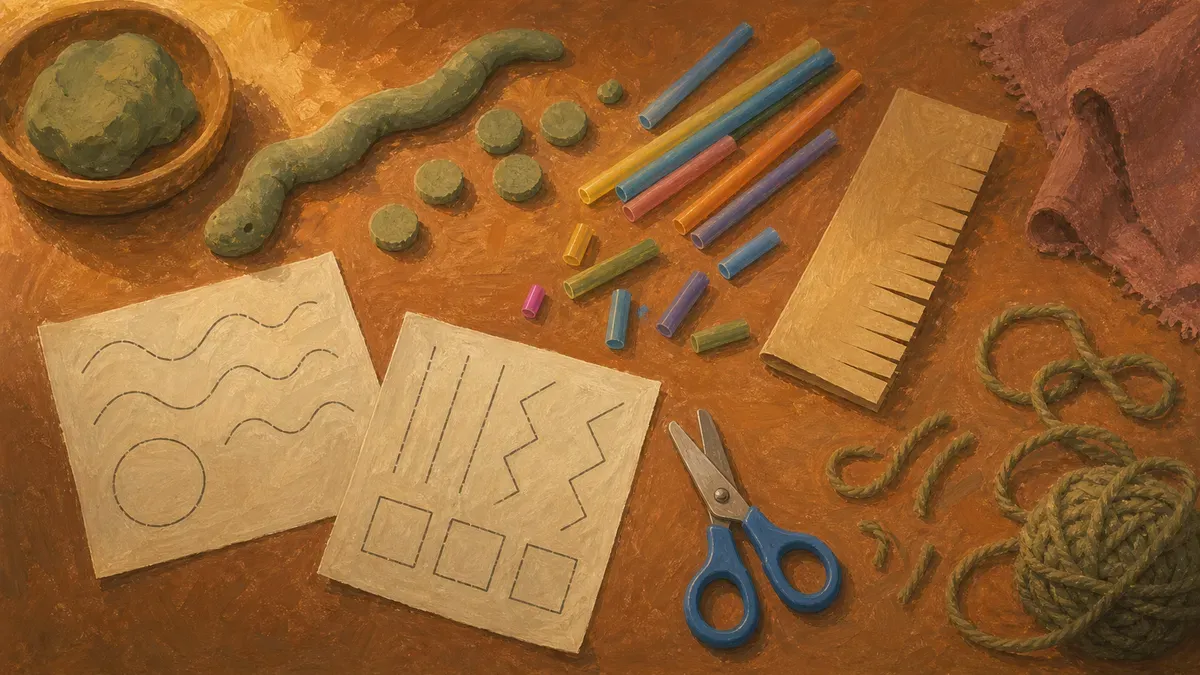
- Build hand strength first with tongs, play dough, and snipping straws for one week.
- Move from snipping single cuts to cutting straight lines, then curves and zigzags.
- Print themed worksheets and progress from short lines to full shapes over 4 to 6 weeks.
Why Scissor Practice Matters Before Kindergarten
Scissors ask a lot from a small hand. Before snipping makes sense, two things need to be in place: the finger strength to control the blades and the readiness signals that tell you a child is ready.
The Hand Strength That Comes First
The thumb, index, and middle fingers do the squeezing while the ring and pinky stay curled back.
That’s where pre-cutting skills come in:
- Tongs at the snack table
- Clothespins clipped to a bucket rim
- Tearing scrap paper into strips
- Rolling play dough into ropes
Research on fine motor milestones confirms all four build the habit of curling those idle fingers away.
Hand strength and bilateral coordination (both hands doing different jobs at once) have to develop together before a child can hold paper steady and cut. That’s why the fine motor activities come first in the sequence.
When Kids Are Ready to Start
Ages 3 to 4 is the typical window, but readiness matters more than the birthday.
With Eli I learned to ignore the birthday number and watch the hand instead; I waited months past his third birthday because he still couldn’t sit upright at the table long enough to hold paper steady.
Three readiness signals are worth watching before you hand over the scissors:
- Core stability: can they sit upright at the table without slumping?
- Pincer grasp: do they pick up small objects with thumb and index finger, not a fist?
- Two-step instruction: can they hold two directions in their head at once?
The thumbs-up grip is the clearest signal in the development sequence. When a child holds scissors with the thumb on top and knuckles facing up, their hand is set to cut a controlled straight line. Give it a few more weeks of play dough and tongs, then try again.
That sequence is mapped out fully in the fine motor tracing handwriting scissor skills guide.
How to Build Up to Cutting Out Shapes
Nobody hands a three-year-old a worksheet of stars and gets clean shapes back. You climb a ladder: snip, then lines, then closed shapes, in that order. The progression goes in three stages, and each one has to stick before the next one makes sense.
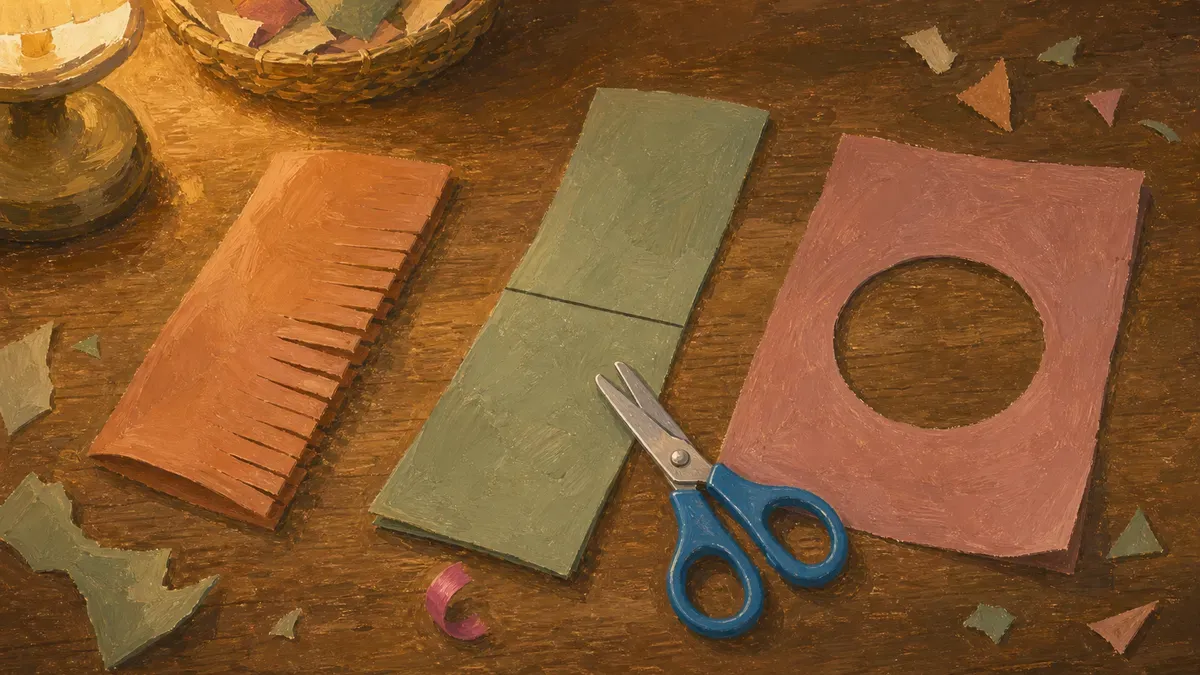
- Snip fringe: fold a strip and make fringe along the edge, one squeeze per cut with no paper traveling through.
- Follow a drawn line: bold and straight to start, then bent into curves, then sharp turns.
- Cut out closed shapes: circles before squares, helper hand rotating the paper while the cutting hand stays put.
Snipping and Single Cuts
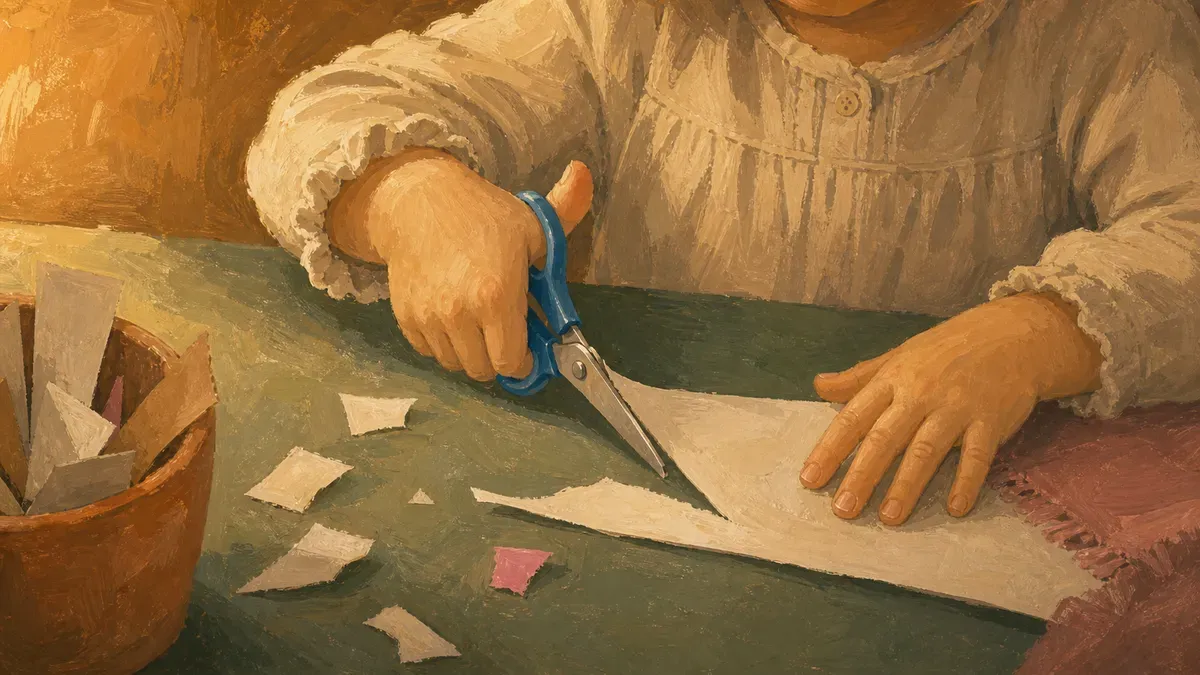
Start where one squeeze does the whole job. Fold a strip of paper and let your kid make fringe along the edge, one snip per cut, no forward movement at all. That open-and-close motion is what occupational therapists actually mean by snipping, opening and closing the blades with no paper traveling through, and it’s the foundation for everything after.
Thumbs up the whole time. Both thumbs, the cutting hand and the helper hand, pointing at the ceiling.
Then graduate to straws. Drinking straws are stiff, easy to grip, and the pieces shoot and bounce across the room when they’re cut, which is exactly why kids keep going, a point occupational therapy guidance on scissor skill progression makes about early cutting with scissors. That bit of paper manipulation and grip instruction, done daily, builds the control you’ll lean on next.
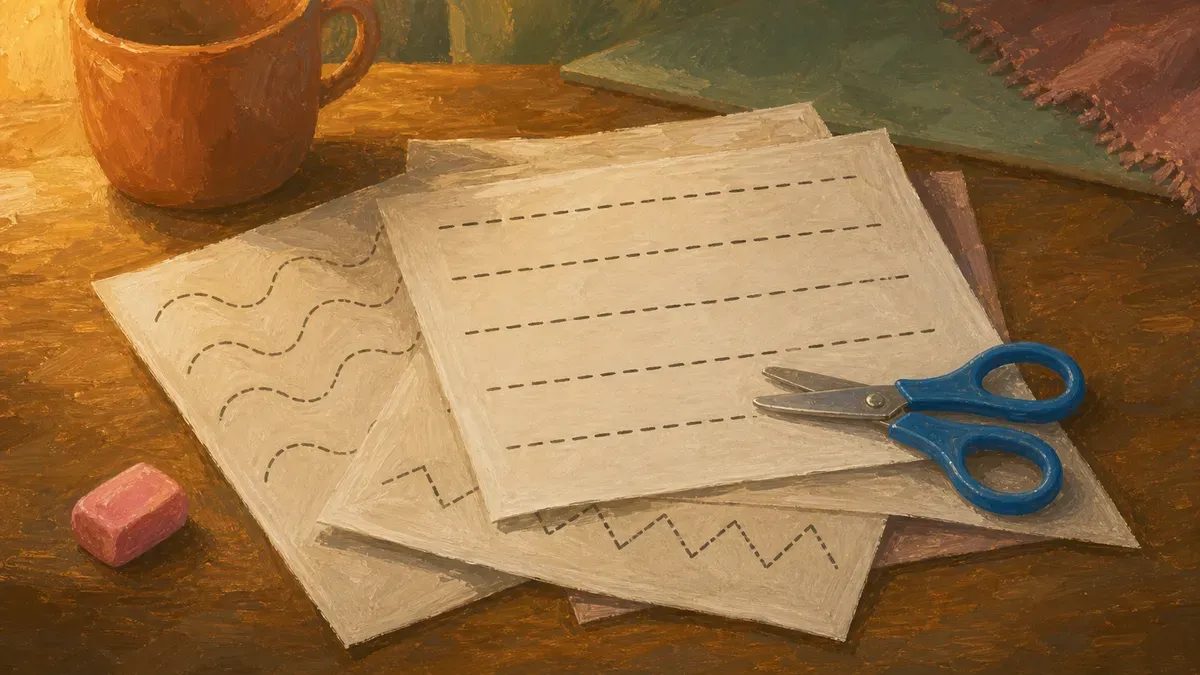
Cutting Straight, Curved, and Zigzag Lines
Once snipping is easy, draw a bold line and let them follow it. This is where most scissor cutting practice lives, and it goes in a set order: straight lines first, then curved, then zigzags. Each one asks more of the eye-hand coordination and the bilateral coordination between the two hands.
Start wide. Draw a thick black line across a six-inch strip and let them cut along it. By ages three to three-and-a-half, kids can manage that line across a six-inch strip, per Your Therapy Source, so don’t rush curves before straight cuts feel boring-easy.
Then bend the line into gentle curves, then sharp zigzags. Mark a dot where each zigzag turns so they know where to pivot. If this stage feels slow, that’s normal. Plenty of solid scissor cutting starts and stalls right here.
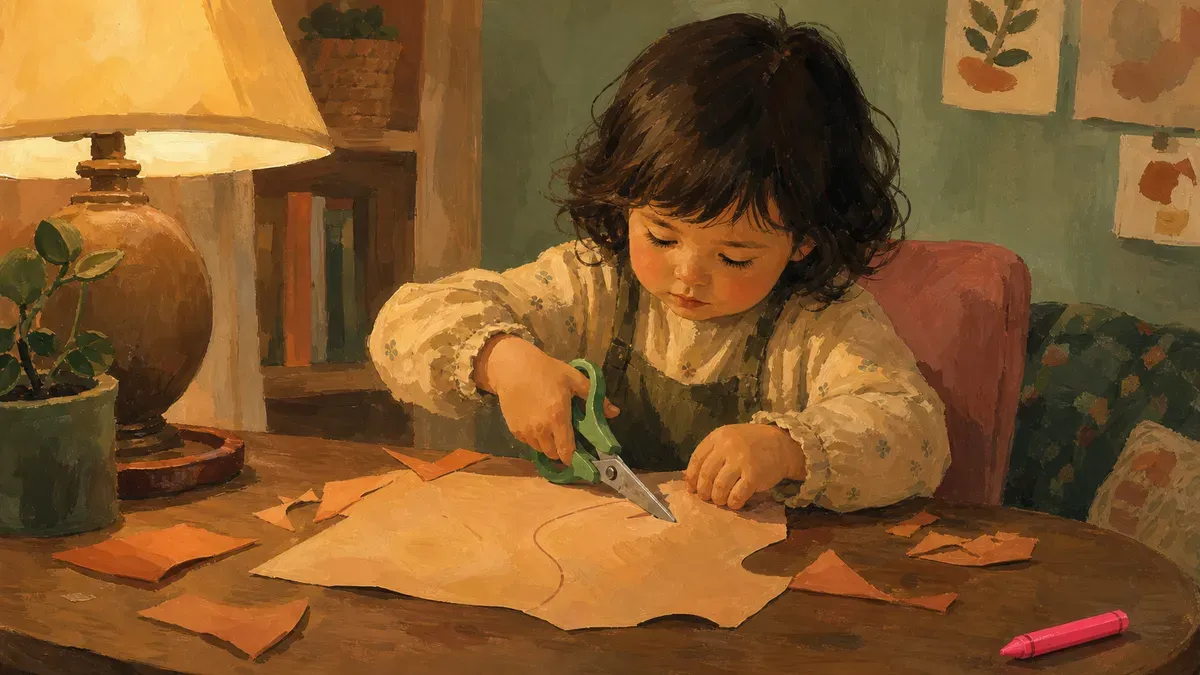
Cutting Out Full Shapes
The last jump is the real one: from following a line to cutting all the way around a closed shape. Now the helper hand has a job. It rotates the paper while the cutting hand stays put, and that paper manipulation is the dexterity that separates line-cutters from shape-cutters.
Circles first, then squares, then stars with their tricky points. By age four, most kids can cut out a circle, and these cut-and-paste shape activities are exactly the kind of cutting kindergarten teachers expect by then. Go big. A fat circle on a half-sheet gives the hand-eye coordination room to work before you ever shrink it down.
10 Scissor Skills Activities to Try at Home
Here are ten things you can pull together tonight, split into the no-prep warm-ups your kid does without a printed page and the worksheet drills that follow real classroom order.
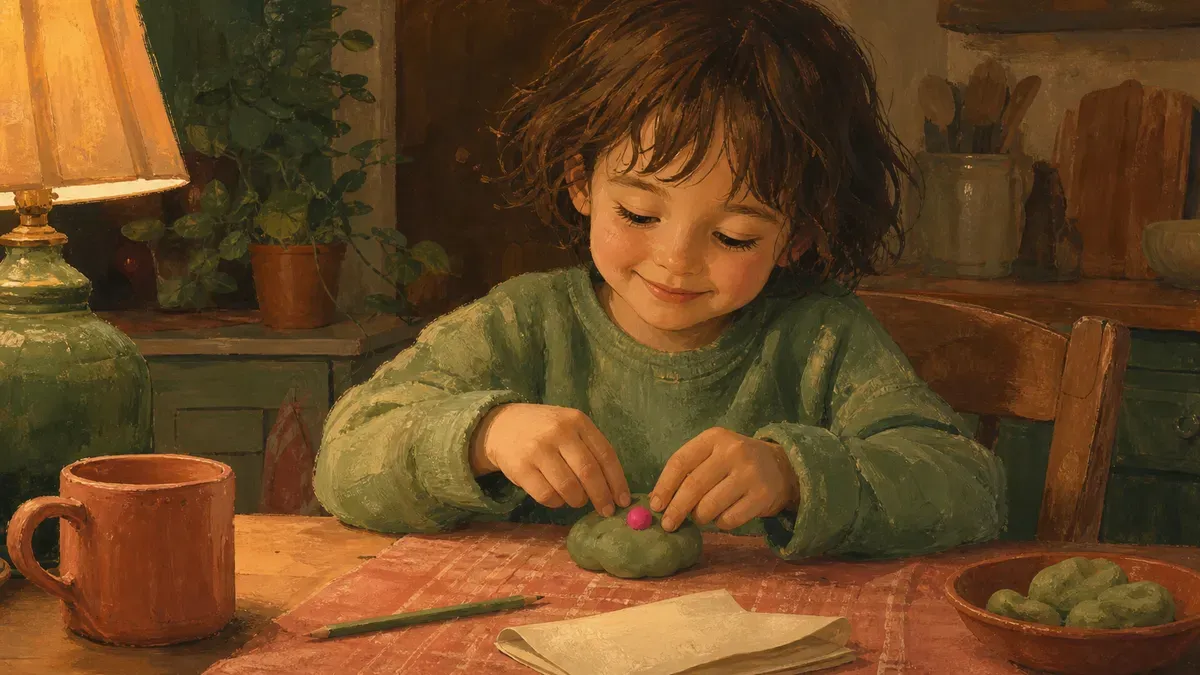
No-Worksheet Activities to Warm Up
Start here before you print anything. These build hand strength and wake up the skill fingers with stuff already in your kitchen.
- Play dough snakes. Roll a fat snake, let them snip it into coins. NAPA Center points to play dough first because it is not flimsy and stays put while a kid figures out the open-and-close.
- Drinking straws. Cut into rainbow beads, then string them. Cheap, loud, weirdly satisfying.
- Paper fringe. A fat strip, single snips along the edge, no aiming required.
- Cooked noodles and yarn. Soft, forgiving, great for tiny hands still learning the squeeze.
These snipping games are pure fine motor skills practice. No lines to follow, no failing, just the paper manipulation that makes the next step easier.
Printable Worksheet Activities by Difficulty
Once snipping feels easy, move to printed pages in the order an OT would use. GriffinOT lays out the climb in stages: straight lines, then curved lines, then waves, then zigzags, then cut-out shapes.
- Straight-line strips. Thick lines, half an inch apart. The bread-and-butter of kindergarten cutting.
- Curved lines. Gentle waves that teach the helper hand to turn the paper.
- Wavy and zigzag paths. Sharper turns, more stop-and-go control.
- Cut-out shapes. Fat circle, then square, then star.
- Themed worksheets. Same skills dressed up as dinosaurs or ice cream cones to keep a bored kid going.
Work through them in that sequence and your cutting practice for kindergarten mirrors what teachers expect. For more on sequencing practice cutting pages for kindergarten at home, see the snip and cut activities guide — it walks through each stage so you know what to look for next.
Where to Find Free Scissor Practice Worksheets
Not all printables are created equal, and printing the wrong one can set a kid back instead of move them forward. Here’s what to look for and where to grab free pages that actually work.
What Makes a Good Cutting Worksheet
The biggest thing: bold, clear guide lines. A faint dashed line is frustrating for a kid who’s still figuring out where to aim, and frustration kills motivation faster than anything. Good cutting pages for kindergarten use thick lines a child can see from arm’s length, with enough white space on each side so a slightly-off cut still feels like a win.
Gradation builds confidence before the paper gets tricky. Themed images on each page (a caterpillar, a rocket, a rainbow) give a bored kid a reason to care about finishing the cut.
One more thing: check whether the set has a marked starting dot. Without it, kids guess where to begin, and the cut wanders.
Where to Find Free Cutting Worksheets Online
For cutting practice worksheets built around kindergarten readiness, two spots are worth bookmarking. Literacy Learn has 8 free PDFs you can print today. Miss Jenny OT offers occupational therapist-designed cutting sheets for kindergarten in two line-width options (wider lines for a child just starting out, thinner lines once they can reliably follow a path). She also includes separate right-handed and left-handed versions, which matters more than most parents expect.
To sequence practice cutting pages for kindergarten at home, work through these levels in order:
- Straight lines first (spend a week or two on cutting practice for preschoolers before moving on)
- Curves next, then zigzags, then simple shapes
- Move to the next level only when your child can stay on the current one comfortably
- Skip ahead and a stack of fifty pages does nothing if half are above where your kid is today
Choosing the Right Scissors for Kindergarten
The worksheets are only half the equation. The scissors matter just as much, and the wrong pair makes everything harder than it needs to be.
Safety, Spring-Loaded, and Left-Handed Options
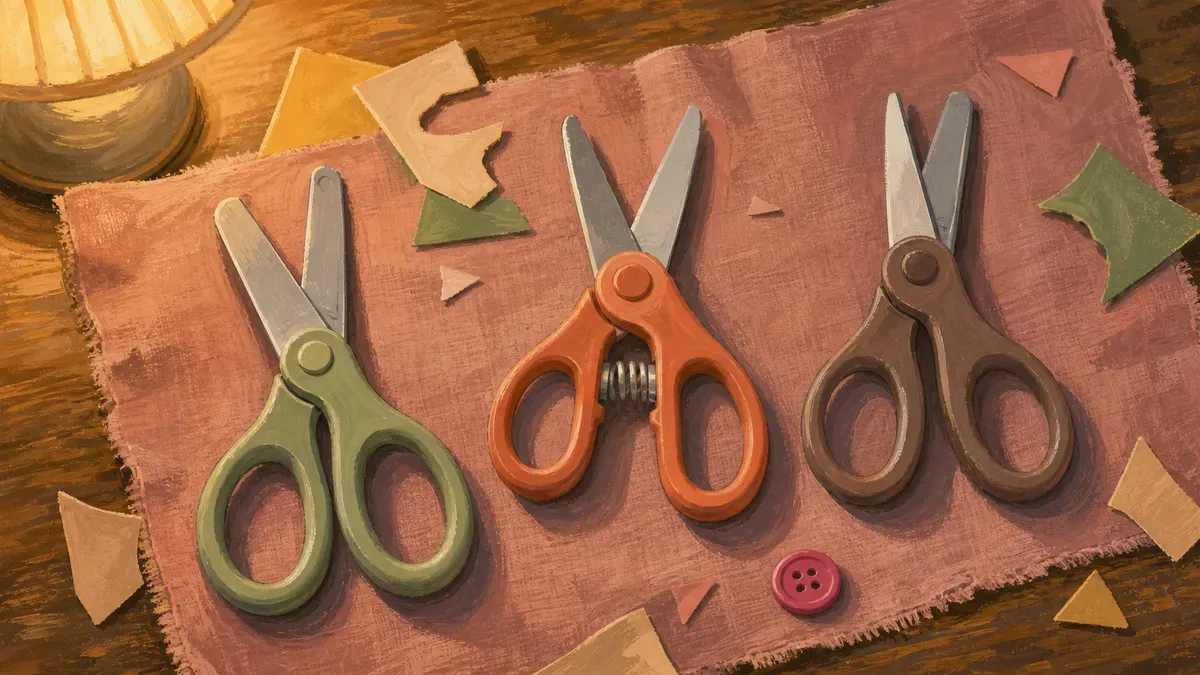
For most kids, blunt-tip safety scissors are the starting point. They cut paper without cutting fingers, and that’s the job at this stage. If your child has limited hand strength or struggles to keep the blades open between snips, look at spring-loaded scissors instead. The OT Toolbox recommends self-opening scissors for kids who need help with coordination, and names Fiskars the gold standard for traditional scissors.
If your child is left-handed, get dedicated left-handed scissors. Not ambidextrous ones. As OT Mom Learning Activities explains, true left-handed scissors have the left blade on top, which lets a left-handed child see the cut line and apply pressure correctly. Ambidextrous handles with right-hand blade orientation don’t give the same benefit. Your child’s scissor skills will build faster when the tool is actually made for their dominant hand.
What to look for when shopping:
- Hand strength: if snipping wears them out fast, spring-loaded is the move
- Handedness: left-handed kids need true left-hand blades, not ambidextrous handles
- Blade tips: blunt tips are non-negotiable at this age
Worksheet and Activity Sets Worth Buying
If your child does better with a structured kit, a bundled set removes the sequencing work entirely. Melissa & Doug lists the Safari Scissor Skills Activity Pad at $8.99 MSRP as of June 2026 on their own site, and the set pairs plastic safety scissors with 20 pre-printed pages graded from simple to complex for ages 4+. Check the current price before buying. The pages move from straight lines to themed cut-and-paste shapes, so the progression is built in.
For a fuller picture of where scissors fit into early learning, see our complete fine motor and handwriting hub.
Found this useful? Save it for the next rough afternoon.
Questions parents ask me about this
Where can I find scissor practice worksheets for kids?
Free options are easy to find online. Search for printable scissor practice sheets and look for PDFs with bold guide lines and a clear progression from straight to curved to zigzag. Many occupational therapy websites offer them in stages so you can start at the right level and work up. The key is matching the difficulty to where your child actually is, not where you hope they are.
At what age should a child start using scissors?
Most kids are ready to try scissors somewhere between ages 3 and 4, starting with simple snipping rather than guided line cutting. Before that, build hand strength with tongs, clothespins, play dough, and tearing paper. Those skills transfer directly once scissors come out. The better readiness signal is whether they can follow a two-step instruction and hold a pincer grasp, not just the birthday.
How do I teach a left-handed child to use scissors?
Get them scissors made specifically for left-handed use, not ambidextrous ones, which still favor right-hand mechanics. Sit across from them when you demonstrate so they can mirror your grip accurately. Before any lines, practice the thumbs-up position (thumb on top, knuckles toward them) with snipping on plain scrap paper.
What activities build hand strength before scissors?
Tongs, clothespins, play dough, and tearing paper are the highest-value options, and they're all covered in the hand-strength section above. A few minutes of any of these daily adds up faster than you'd expect.
Why does my child struggle to cut on the line?
Usually it comes down to one of three things: the scissors are too hard to open and close, the grip is off, or their helper hand isn't rotating the paper as they go. Spring-loaded scissors can fix the strength problem immediately. For grip, check that the thumb points up and the elbow stays near their side. Rotating the paper with the helper hand is the part most parents overlook. It needs to turn as cutting progresses, not sit still.
Are scissor skills important for special needs and sensory-sensitive kids?
Yes, and for more reasons than paper crafts. Cutting builds bilateral coordination, hand strength, and focus that carry over into writing and self-care. For sensory-seeking kids, the physical feedback from cutting (especially through resistive materials like play dough or craft foam) can be genuinely calming. Always follow the child's lead; if the scissors are triggering right now, back up to pre-cutting work and build readiness first.
What kind of scissors are best for kindergarten?
Blunt-tip safety scissors are the right starting point. Look for metal blades that actually cut, not flimsy plastic that just frustrates. For kids with low hand strength, spring-loaded scissors make a real difference because they spring open automatically between snips. Left-handed children need true left-handed scissors, not ambidextrous versions, so they can see the cut line and apply pressure correctly.
Written by
Nora Hayes
Mom of two and a former preschool aide. I share the screen-free sensory play and calm-down ideas I test at my own kitchen table, plus what the moms in my little meet-up swear by. A parent passing on what works, not a doctor or a therapist.
More about NoraKeep going
All Fine Motor-
 Fine Motor
Cutting Worksheets: 15 Activities Beyond Straight Lines
Bored of straight lines? These cutting worksheets and 15 activities build scissor skills fast — and show exactly where to start today.
-
 Fine Motor
Activities to Build Fine Motor Skills With Pom Poms
The hand strength behind neat handwriting starts with play. Try 20 pom pom activities to build fine motor skills your kid will actually beg to do.
-
 Fine Motor
Fine Motor Skills Activity: 5-Minute Warm-Up Routine
A 5-minute fine motor skills activity warms up little hands before handwriting so letters come out neater. Grab the no-prep routine and start today.
-
 Fine Motor
Fine Motor Skills Games for Preschoolers: 9 Busy Bags
Tired of screens at restaurants? These fine motor skills games for preschoolers pack into a zip bag and travel anywhere. Grab the 14 setups.