Calm Down Corner Kit: DIY or Buy the Printable?

I am a parent sharing what worked at my house, not medical advice. For anything to do with your child's development or sensory needs, talk to your OT or doctor.
A DIY calm down kit costs under $30 and one trip to the kitchen; a pre-made printable pack runs a few bucks and skips the 9pm feelings-chart scramble. That difference in setup time and money matters on days when a meltdown is already building. I’m Nora Hayes, former preschool aide and mom to an autistic sensory-seeker, and this covers what each path really costs, what goes in the basket, and where to find printables so you can have it ready tonight.
The plan in brief:
- Grab a basket, 3 fidgets, a soft item, and a breathing card for under $30
- Print one feelings chart and one breathing poster from a free printable pack
- Set it up in a low-traffic corner in about 20 minutes
Build Your DIY Kit in 3 Steps
A solid DIY kit comes together in one afternoon. Here’s the order I’d do it in.
- Choose the container and the spot (quiet, out of foot traffic, always the same place)
- Load it with three to five sensory and fidget items that give the body a job
- Layer in the visual timer, breathing card, and feelings chart that teach the reset

Step 1: Pick the Container and the Spot
Grab a basket you already own. A laundry tote, a shallow bin, the bin the toys came in. The container barely matters, so don’t shop for it.
The spot matters more. Tuck the calming space into a quiet corner away from the kitchen and the front door, because a calm down corner only works if it’s predictable and out of the foot traffic. National Autism Resources makes the same point: a spare nook, a bedroom corner, even a closet beats the middle of a busy room.
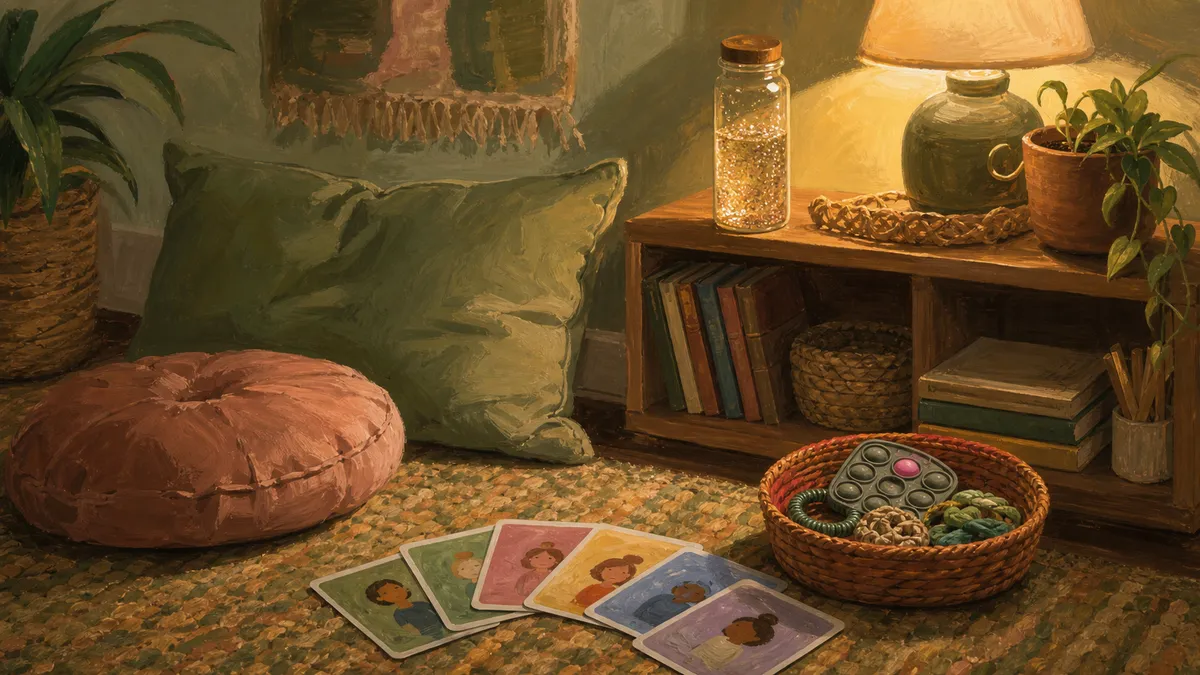
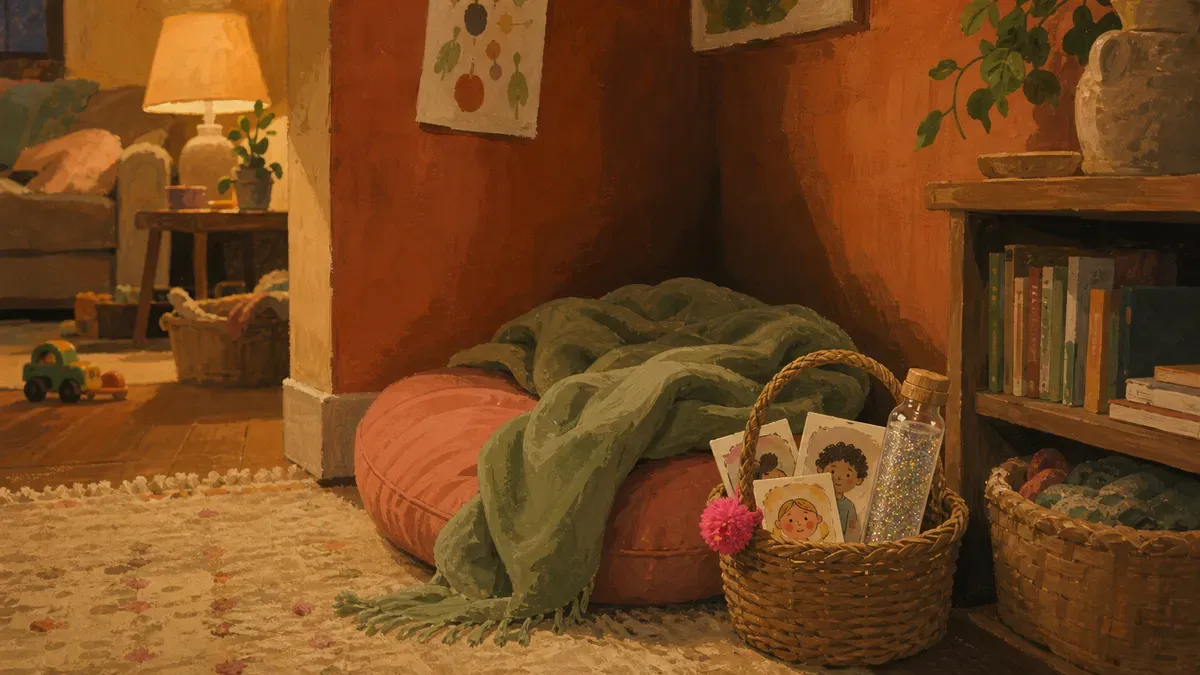
Drop a cushion or a bean bag in it. We use a floppy bean bag Eli sinks into, and the weight of it settles him before he’s even reached for a fidget. One rule I learned the hard way: never send a kid there as a time-out. The second it reads as punishment, they won’t go willingly again.
Step 2: Stock the Sensory and Fidget Items
Now fill it with three to five things their hands and body can do something with. Not ten. A fried kid staring at a pile of stuff just gets more overwhelmed.
Mix the textures so there’s a choice:
- A squishy or stretchy fidget for restless hands
- A sensory bottle to stare at while the spinning slows (glitter glue, warm water, a jar, shake and watch)
- A chew toy or chewable necklace for the mouth-seekers; Eli needs to bite down when he’s wound up, and this is the piece that keeps him from biting everything else
- Noise-canceling headphones when the room is just too loud; June grabs them the second the vacuum comes out
The point isn’t the perfect toy. It’s giving the body a job. Tactile toys keep the hands busy long enough for the big feelings to come down a notch. Buy the pantry version of all this first, then upgrade the one or two things your kid actually reaches for.
Step 3: Add the Visual and Breathing Tools
The fidgets keep them busy. These last pieces teach the reset, so a kid can name what’s happening and walk themselves through it.
Add three things: a visual timer, a breathing card, and a simple feelings chart. The timer shows time passing without numbers a 3-year-old can’t read yet, and that visible countdown takes the edge off the not-knowing. There’s peer-reviewed research on visual timers and child anxiety showing kids felt calmer with a visual timer in the room than without one.
One minute of slow breathing can noticeably lower a wound-up kid’s arousal, and a card turns that into something a child can do alone.
| Tool | What it does | The payoff |
|---|---|---|
| Visual timer | Makes time visible without numbers | Takes the edge off waiting without a countdown to read |
| Breathing card | One image, one breath, one step at a time | A reset kids can run solo, without prompting |
| Feelings chart | Match a face to what you feel inside | Labeling the emotion is where regulation actually begins |
The feelings chart wraps it up: a child points to the face, says the word, and that small act of labeling is what most store kits skip.
Once these three are in, you’ve got a real reset tool, not just a busy box. Want the full walkthrough? Here’s how to set up your calm down corner so it actually gets used.
What Goes in a Calm Down Corner Kit
A working kit has three layers: tools that move the body, printables that walk a kid through the reset, and a few swaps that fit your specific child. Here’s what actually goes in the basket.
Core Sensory and Movement Tools
Start with the things that give the body something to do. A wound-up kid usually needs to feel pressure or push against something before they can sit still, and a handful of items covers most of that.
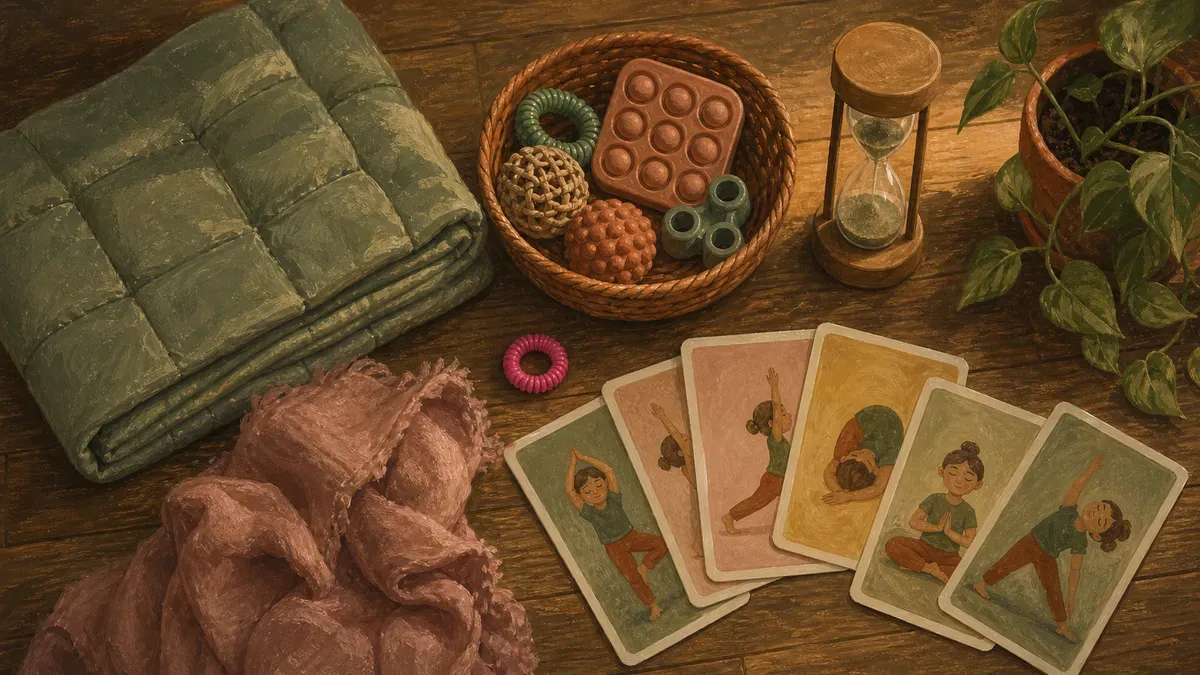
- Weighted blanket for deep-pressure input. That calming squeeze works through the proprioceptive system, and the pressure has been noted to settle the nervous system, especially for autistic and ADHD kids, per Sensory Direct’s weighted-products guide.
- A heavy work activity the kid can do right there: a small bin of books to stack, a stretchy resistance band, a weighted lap pad. Pushing and pulling feeds the muscles and joints and takes the edge off fast.
- Yoga cards for movement that feeds the vestibular system, the part that tracks where the body is in space. Eli’s group does “tree” and “down dog” on the floor before anyone tries to talk.
- A sensory bottle to watch the glitter settle, giving the eyes one slow thing to follow while breathing slows with it.
Keep it to a few. A crammed basket overwhelms the kid you’re trying to calm.
Printable Pieces That Tie It Together
The tools settle the body. The paper teaches the kid what to do next, and that’s where calm down corner printables earn their spot. Without them, the corner is just a pile of fidgets.
Three pieces do the heavy lifting:
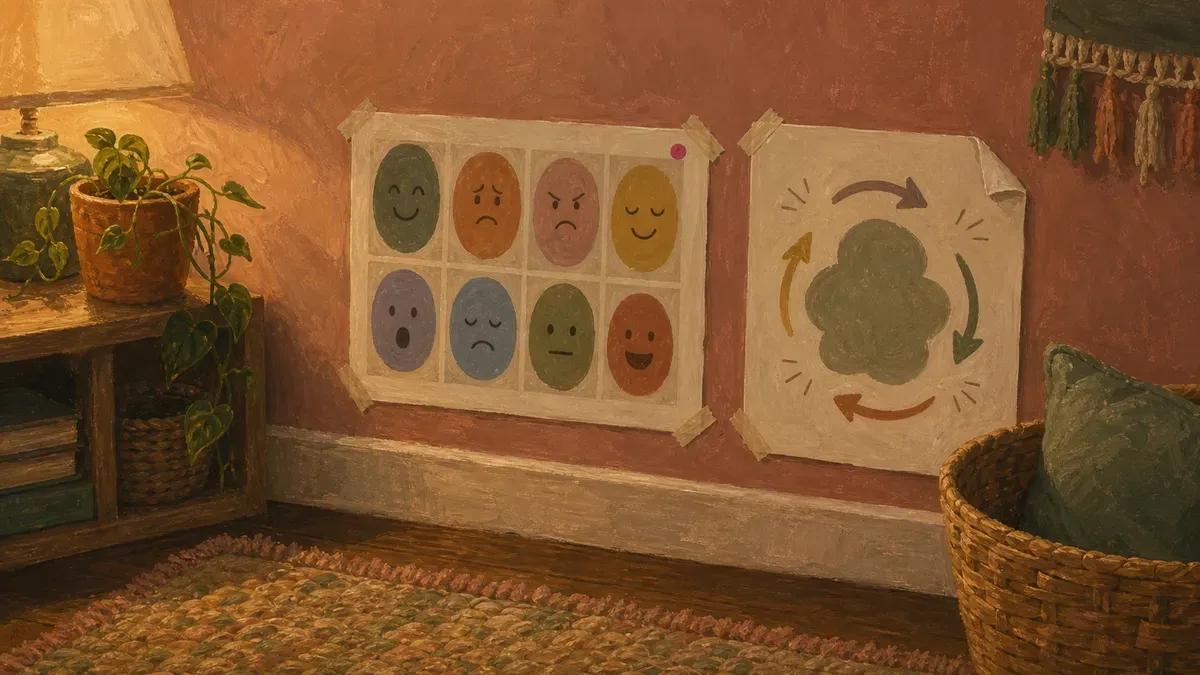
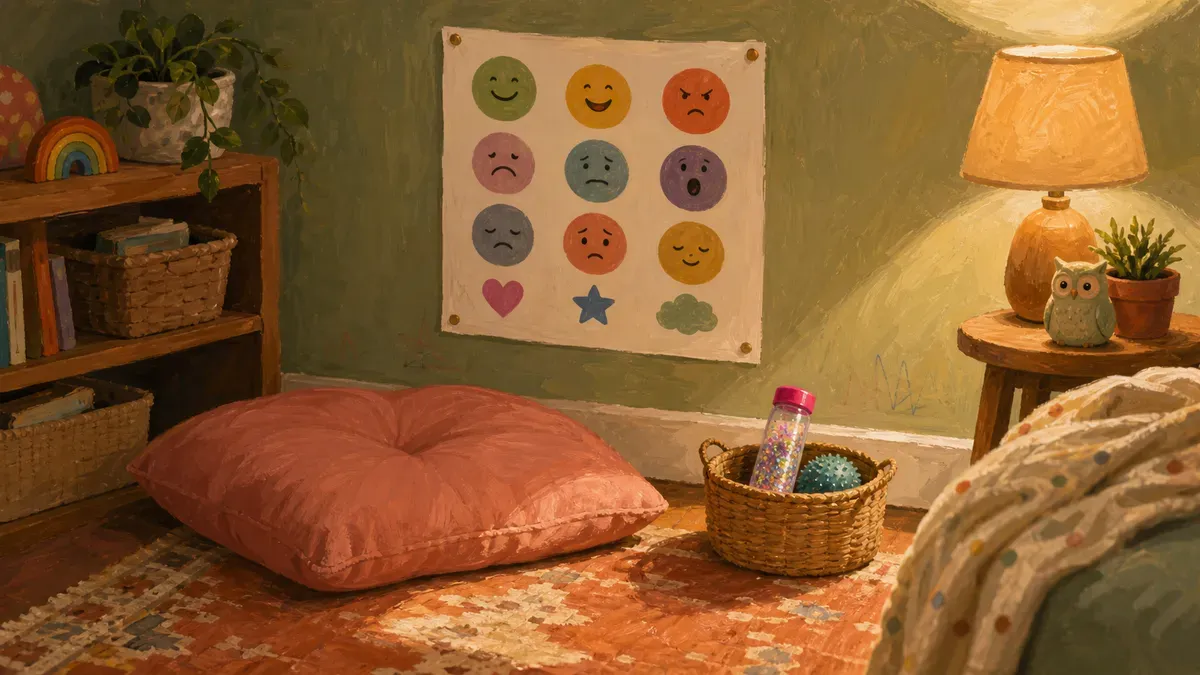
- A feelings chart, so a kid who can’t find words can point.
- A breathing poster, the kind with a big clear visual on card stock that holds up through daily use, simple enough to follow mid-meltdown.
- A return plan card, the simple “I feel better, I’m ready to go back” step that gives the child a predictable door out of the corner.
You don’t have to pay to start. Teachers Pay Teachers hosts free calm down corner printables, including a feelings thermometer and grounding-technique cards, ready to print for Pre-K on up. I taped a free feelings chart inside June’s corner for two weeks before deciding what to buy, and honestly it did the job. For more no-cost setups, here are some budget calm corner ideas worth raiding first.
Personalize for Your Child
Here’s the part most lists skip: the same kit doesn’t work for two kids. A sensory-seeker who needs to crash and squeeze wants the heavy blanket and the resistance band. A sensory-avoider who’s already overloaded wants the noise off, the lights low, and one soft thing to hold, not a bin full of buzzing toys.
So swap with the child in mind. Watch what your kid reaches for on a hard day and stock more of that. For a neurodivergent kid whose big feelings come on strong, an occupational therapist can map out a sensory diet, an individualized plan first developed by OTs Wilbarger and Wilbarger, that tells you which input actually helps before you guess.
The goal isn’t a Pinterest-perfect basket. It’s the few things your child will genuinely use, which is also the whole point of calm down corner emotional regulation in the first place.
DIY vs Pre-Made Printable: Cost and Effort
Money and minutes pull in opposite directions here, so let’s put both on the table: what each path actually costs, and how much of your evening it eats.
The Real Price Tag of Each Path
A DIY calm down kit runs cheap if you raid your own house first. A basket you already own, a couple of fidgets from the dollar bin, a soft thing off the bed, and you’re in for almost nothing. The cost creeps up only when you start buying the regulation tools brand new.
Pre-made goes the other way. The printables themselves are pocket change, while the physical supply sets are where the number climbs.
Here’s roughly where the dollars land for each path:

| Path | What you pay for | Rough cost |
|---|---|---|
| DIY kit | Basket, fidgets, soft item (mostly owned) | Low to medium |
| Printable pack | Digital download, you print at home | A few dollars, up to about $25 for a big bundle |
| Pre-made supply set | Ready-made tools and bins shipped to you | Really Good Stuff lists these from $3.59 to $39.99 |
Those supply-set figures come straight from Really Good Stuff’s calming corner range as of June 2026, so check the current pricing before you buy.
Time, Effort, and Quality Trade-Offs
The price tag hides the real cost, which is your time. DIY is cheapest on paper and priciest on effort: sourcing, sizing, laminating, hunting down a feelings chart that doesn’t look like clip art from 2009. A done-for-you pack hands you tested calming strategies and clean visuals you print and tape up in ten minutes.
So where’s the sweet spot? For most families, it’s the hybrid setup: buy the printables, DIY the rest.
- Buy: the visuals (feelings chart, breathing card, return plan), where polish and clear wording actually matter
- DIY: the basket, the fidgets, the soft item, all stuff you own or can grab for a dollar
That split gets you classroom-quality printables without paying premium-kit prices for a fidget you already have in the junk drawer. Cheapest where you can be, paid where it counts. That’s the version I’d hand a friend at 9pm with a meltdown brewing.
Free and Paid Calm Down Corner Printables
Printables cost less than anything else in the corner, so try the free ones first and spend money only after you see what your kid actually uses. Here’s where to grab the no-cost stuff, and the point where spending a few bucks earns its keep.
Where to Find Free Printables
Before you spend a dime, raid the free shelves. Teachers Pay Teachers has a deep bench of free calming corner printables, and I’ve pulled most of June’s from there over the past year.
A good free pack should cover the basics any caregiver needs on a hard afternoon:
- A feelings chart or thermometer, so a wound-up kid can point instead of explain
- At least one breathing exercise card, numbered clearly enough for a child to follow alone
- A couple of grounding or coping cards (five-senses, count-to-ten)
That’s enough to run a corner for weeks. Free printables hold up longer than you’d expect when laminated; most families get weeks of use before a sheet needs reprinting, and reprinting costs nothing.
Print free, laminate, and live with it a while before you decide anything’s missing.
When a Paid Pack Is Worth It
You’ll know it’s time to pay when the free sheets stop matching and the gaps start showing.
- More pages, matched: Etsy kits run 30 to 50 print-ready pages in consistent sizes, covering feelings charts, grounding techniques, and affirmations that loose free files rarely bundle together
- Designed as a set: same colors, same font, no clashing clip art; one reset tool flows into the next
- The return plan card: steps that walk a kid back to the room, which most free packs skip entirely
That last piece (the return plan) is the real reason I’d pay. A good paid pack walks a kid back to the room with clear steps, and that closing piece is what turns a corner into actual emotional regulation instead of a cozy hideout. If you want help choosing one, my breakdown of the best calm down corner poster picks is where I’d start.
Bottom line: free gets you running tonight, paid is worth it the day you want the set to hold together.
Make the Corner Actually Work
A kit on the floor does nothing on its own. The corner earns its place through two moves: co-regulating alongside them at first, then handing them a ritual that brings them back on their own.
Co-Regulate Before You Expect Self-Regulation
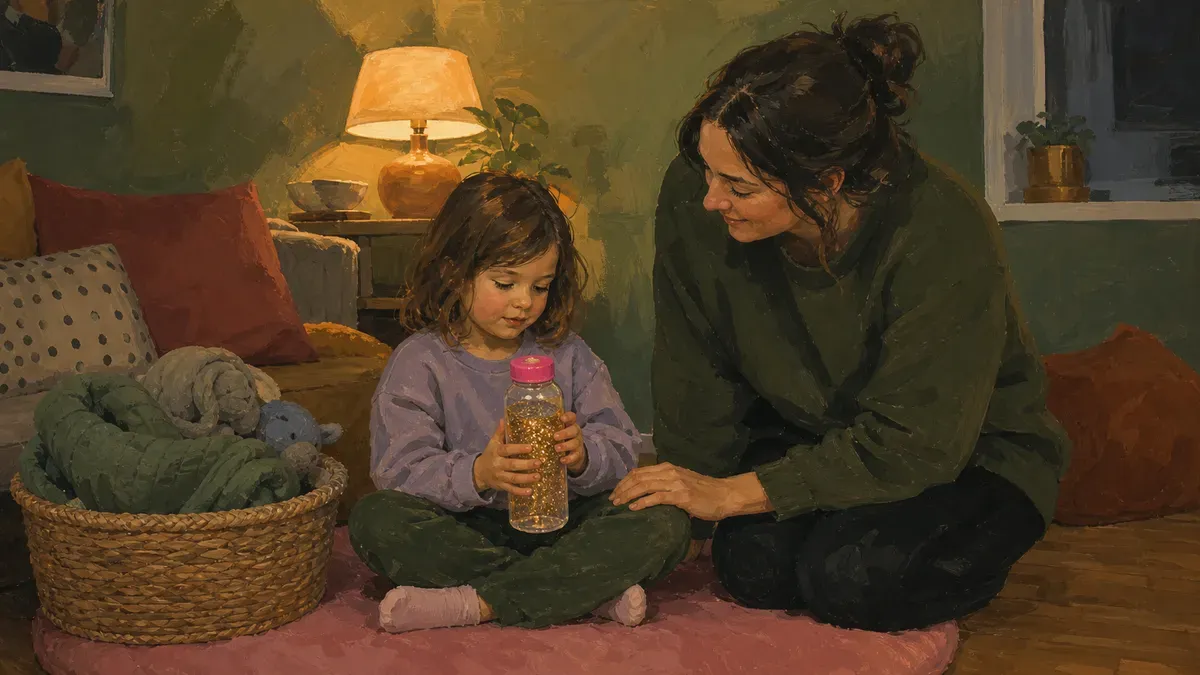
Mid-meltdown is the worst time to expect a three-year-old to calmly pick a fidget. Dysregulation is loud and physical, and a kid in that state can’t do the thinking the corner is built for. They borrow your calm before they grow their own. The Child Mind Institute puts it plainly: self-regulation is learned, not innate, and an adult’s calmness directly shapes the child’s stress response through co-regulation.
So you go in with them. With June, I sit on the floor, slow my own breathing, and stay quiet until her body settles. No lecture, no fixing. Self-control steadies between 18 and 30 months and keeps building through the preschool years, but only with a caregiver scaffolding it, per the guidance on co-regulation in young children from the National Academies. The corner becomes a solo skill later, once the routine is worn in and they trust you’ll come.

Teach a Clear Return Plan
The corner has a door out, and your kid needs to know what it looks like. A return plan is one tiny ritual: take three breaths, point to a feeling, then walk back and rejoin. We practiced June’s on calm afternoons, not in the storm, so the steps were muscle memory by the time she needed them.
This is where a calm corner splits hard from a time-out. There’s no forced apology, no sitting until you’ve “thought about it” the way calm corner reflection rules get framed after a punishment. The reset tool just hands a kid a predictable exit, which is half the calming strategies you actually need. For the full setup, read our complete guide to building a calming space at home and how to build a calming center kids actually use.
Found this useful? Save it for the next rough afternoon.
Questions parents ask me about this
What should I include in a calm down corner kit?
Start with a basket, a few fidgets, something soft to hold, and one breathing card. Add a feelings chart and a visual timer once your child is using the corner regularly. Three to five items is plenty to start; pull things out or add new ones as you figure out what your child actually goes for.
How much does it cost to make a DIY calm down corner kit?
If you already own a basket, a stuffed animal, and a couple of fidgets, you can put together a solid kit for almost nothing. Starting from scratch with new supplies tends to creep up, but staying under thirty dollars is realistic if you use free printables and shop what you have first. The real cost is the time it takes to gather, size, and laminate everything yourself.
Are free calm down corner printables good enough, or should I pay?
Free printables cover the basics well: a feelings chart, a breathing card, and a grounding exercise are all available at no cost. Paid packs earn their price in cohesion and extras, especially the return plan card, which is hard to find in a free set. A good approach is to start free, then buy only after you know which tools your child actually uses.
What age is a calm down corner kit appropriate for?
Most kids start getting something from a calm corner around eighteen months to two years, though at that age they need a caregiver sitting with them rather than using it solo. By three or four, many kids can begin learning the corner as a self-regulation spot, with practice on calm days. Older kids and even tweens can benefit from a version of it too, as long as the tools match their age.
How is a calm down corner different from a time-out?
A time-out is a consequence; a calm corner is a tool. The corner exists so your child has somewhere to go when feelings get big, not somewhere to sit and think about what they did wrong. There is no timer counting down, no apology required at the end, just a reset and a return.
How do I keep my child from treating the calm down corner like a punishment?
Practice using it on calm days, not just during meltdowns, so it builds positive associations. The way you introduce it matters too: bring your child there with warmth, stay nearby to co-regulate, and keep the language neutral. When kids learn the corner through low-stakes practice, it stops feeling like a consequence and starts feeling like a pit stop.
Can a calm down corner kit work for a neurodivergent child?
Yes, and it often helps most. The key is matching the tools to your child's sensory profile: a sensory-seeker may need heavy work options and movement tools, while a child who gets overwhelmed easily may need softer, quieter items. If your child has significant sensory needs, an occupational therapist can help you build a sensory diet around the corner so the tools are actually calibrated to what your kid needs.
Written by
Nora Hayes
Mom of two and a former preschool aide. I share the screen-free sensory play and calm-down ideas I test at my own kitchen table, plus what the moms in my little meet-up swear by. A parent passing on what works, not a doctor or a therapist.
More about NoraKeep going
All Calm & Big Feelings-
 Calm & Big Feelings
Emotional Regulation Activities for Kids That Work
Most calming tricks fail mid-meltdown. These emotional regulation activities for kids work when nothing else does. Find the one that fits your child.
-
 Calm & Big Feelings
Calm Corner Ideas: 25 Picks Under Your Coffee Budget
Skip the $200 setups. These 25 calm corner ideas cost less than a latte and soothe big feelings. Build one your kid loves this week.
-
 Calm & Big Feelings
Calming Center Checklist: What Actually Belongs
Most calming center stuff just becomes clutter. Here's the exact checklist of tools that actually help kids regulate. See what to keep.
-
 Calm & Big Feelings
Social and Emotional Learning Curriculum in the IEP
Most IEPs skip the one accommodation that stops meltdowns. See how a social and emotional learning curriculum gets a calm-down corner written in.